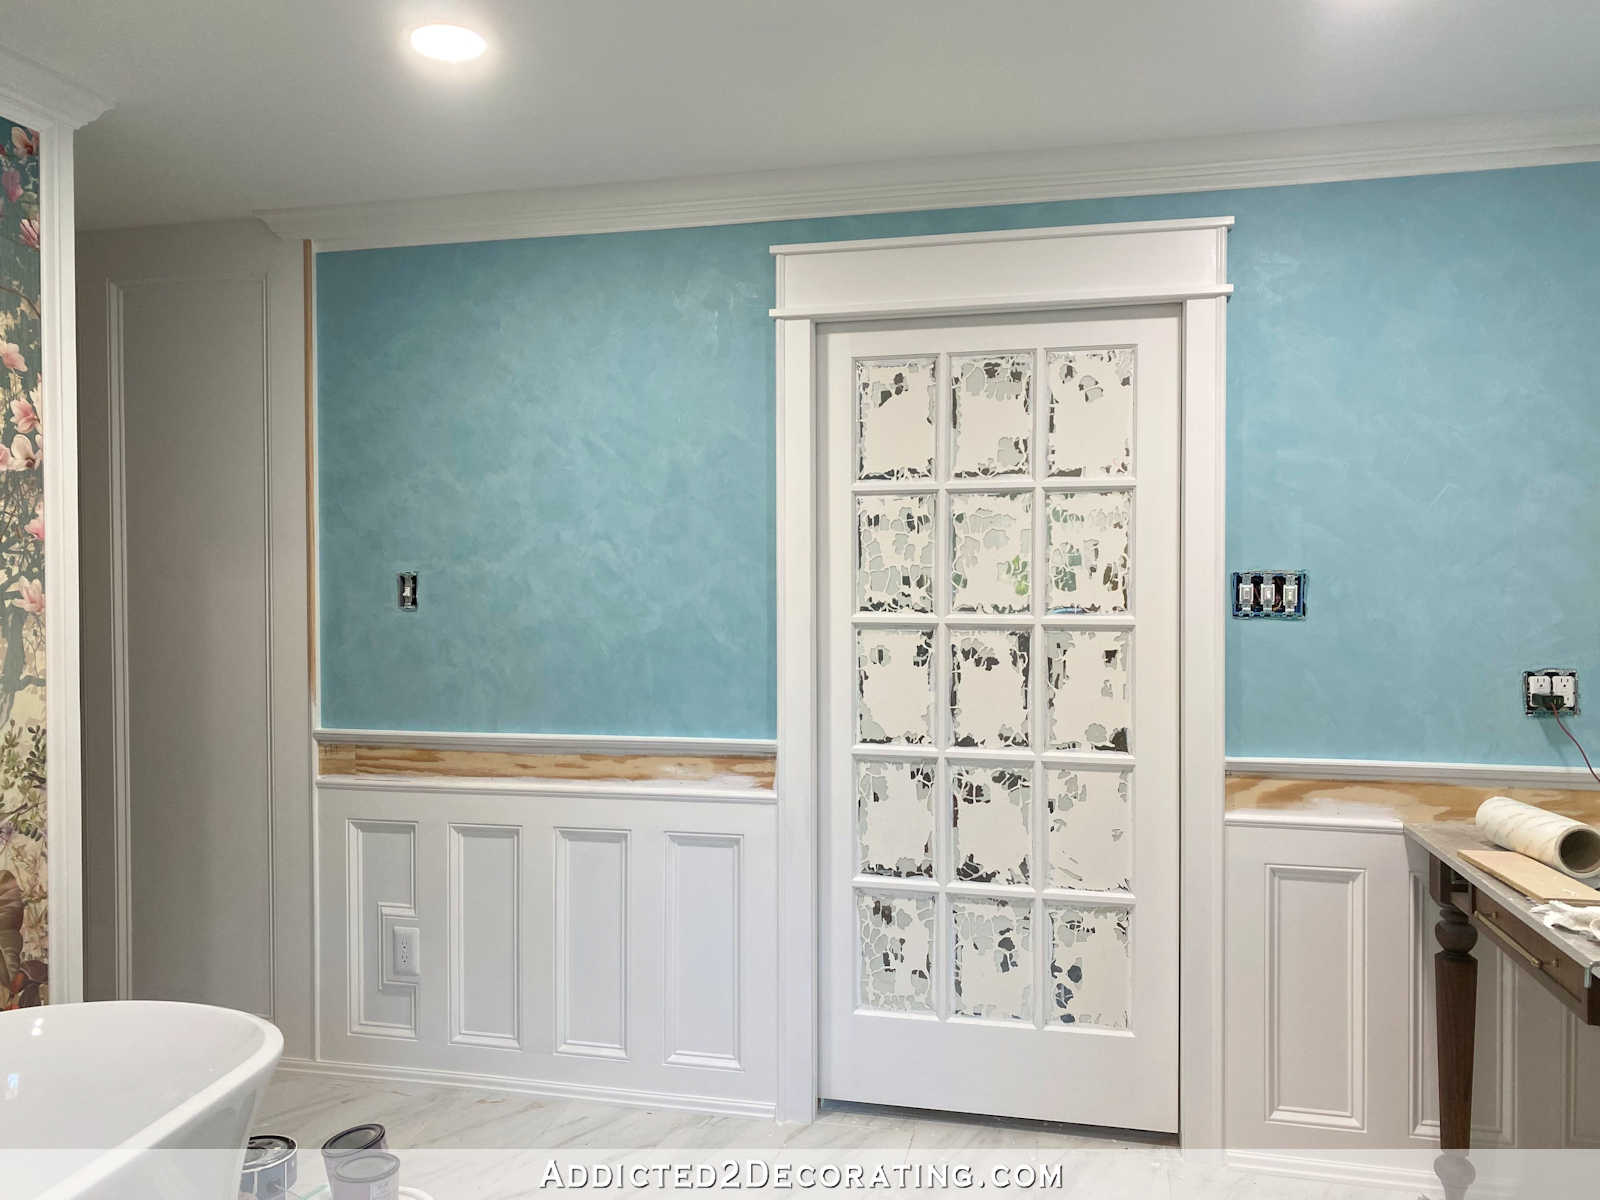
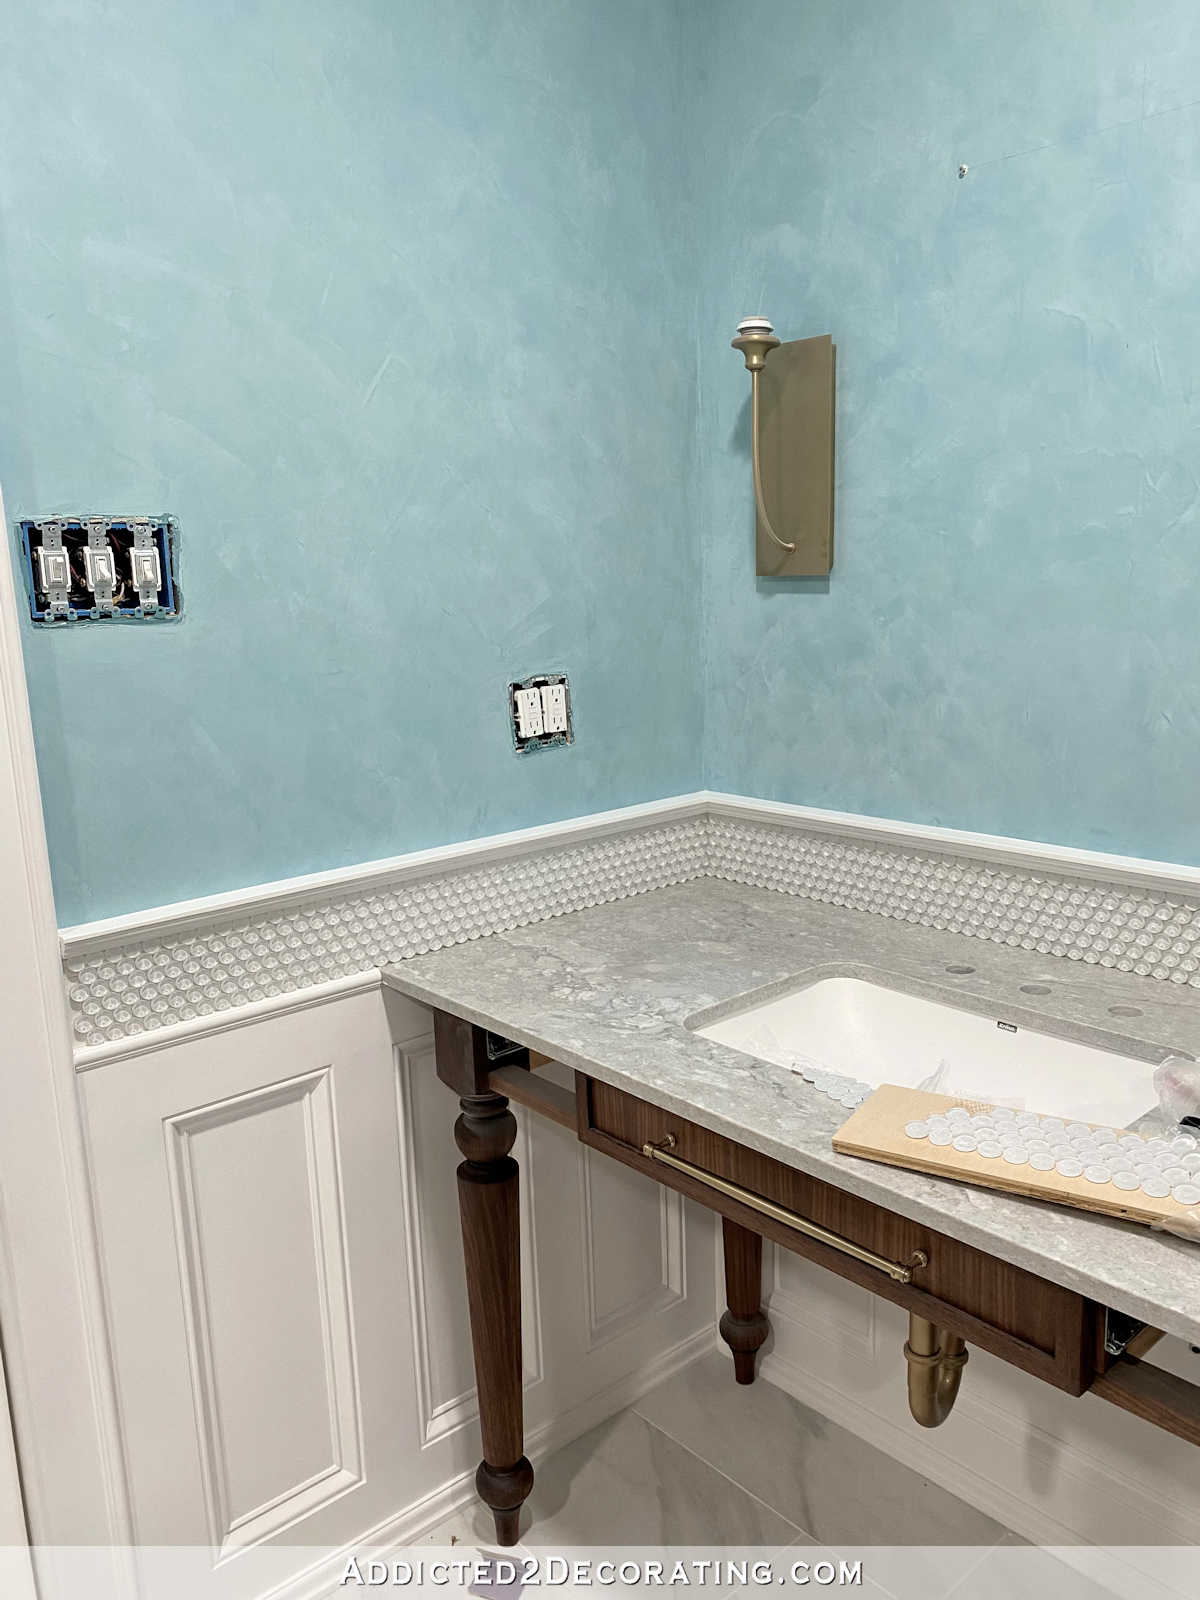
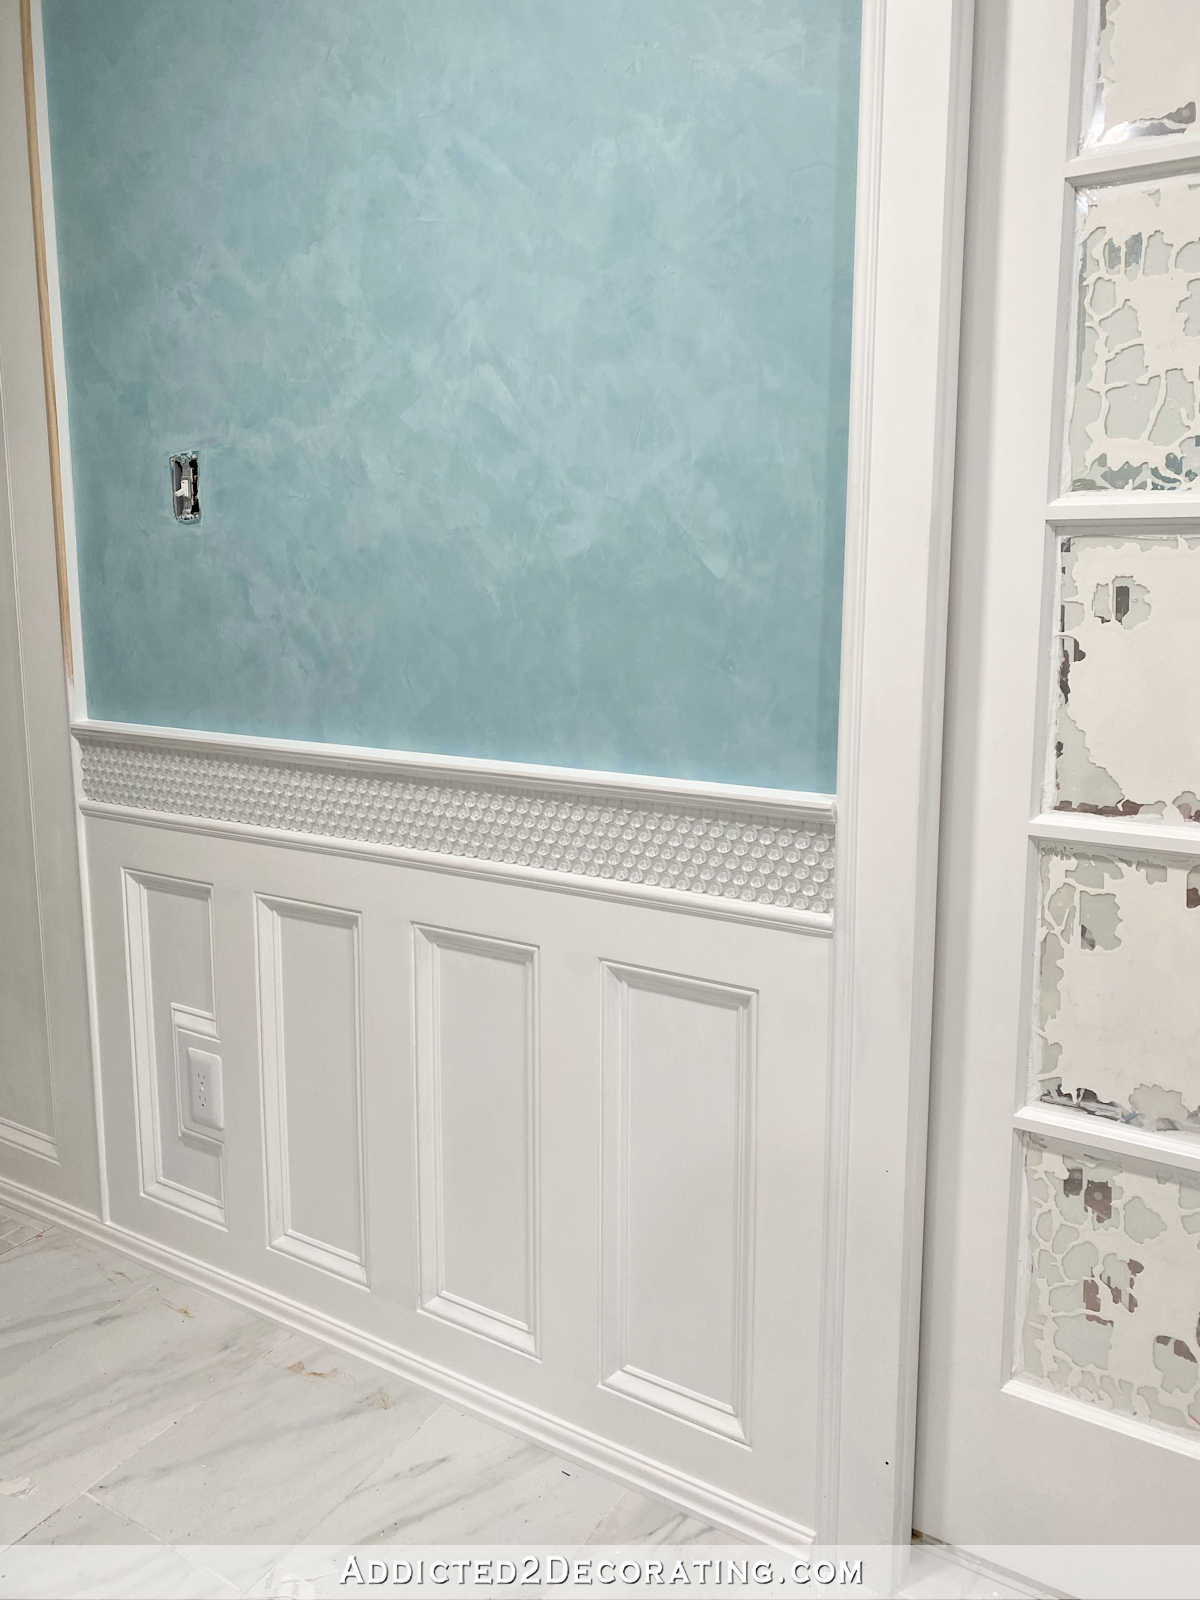
I’m nonetheless plugging away on the grasp toilet, and the wainscoting on the house fitness center aspect of the room is nearly completed! I lastly began the ultimate step yesterday — including the glass penny tile accent strip into the highest of the wainscoting.
For those who missed the earlier two posts on this decide’s paneling wainscoting venture, you will discover them right here:
Right here’s how the wainscoting seemed earlier than including the glass penny tile. I wooden stuffed, sanded, caulked, primed, and painted all the wooden elements…

After which I added Musselbound tile adhesive backing to the world the place the tile was going to be put in…
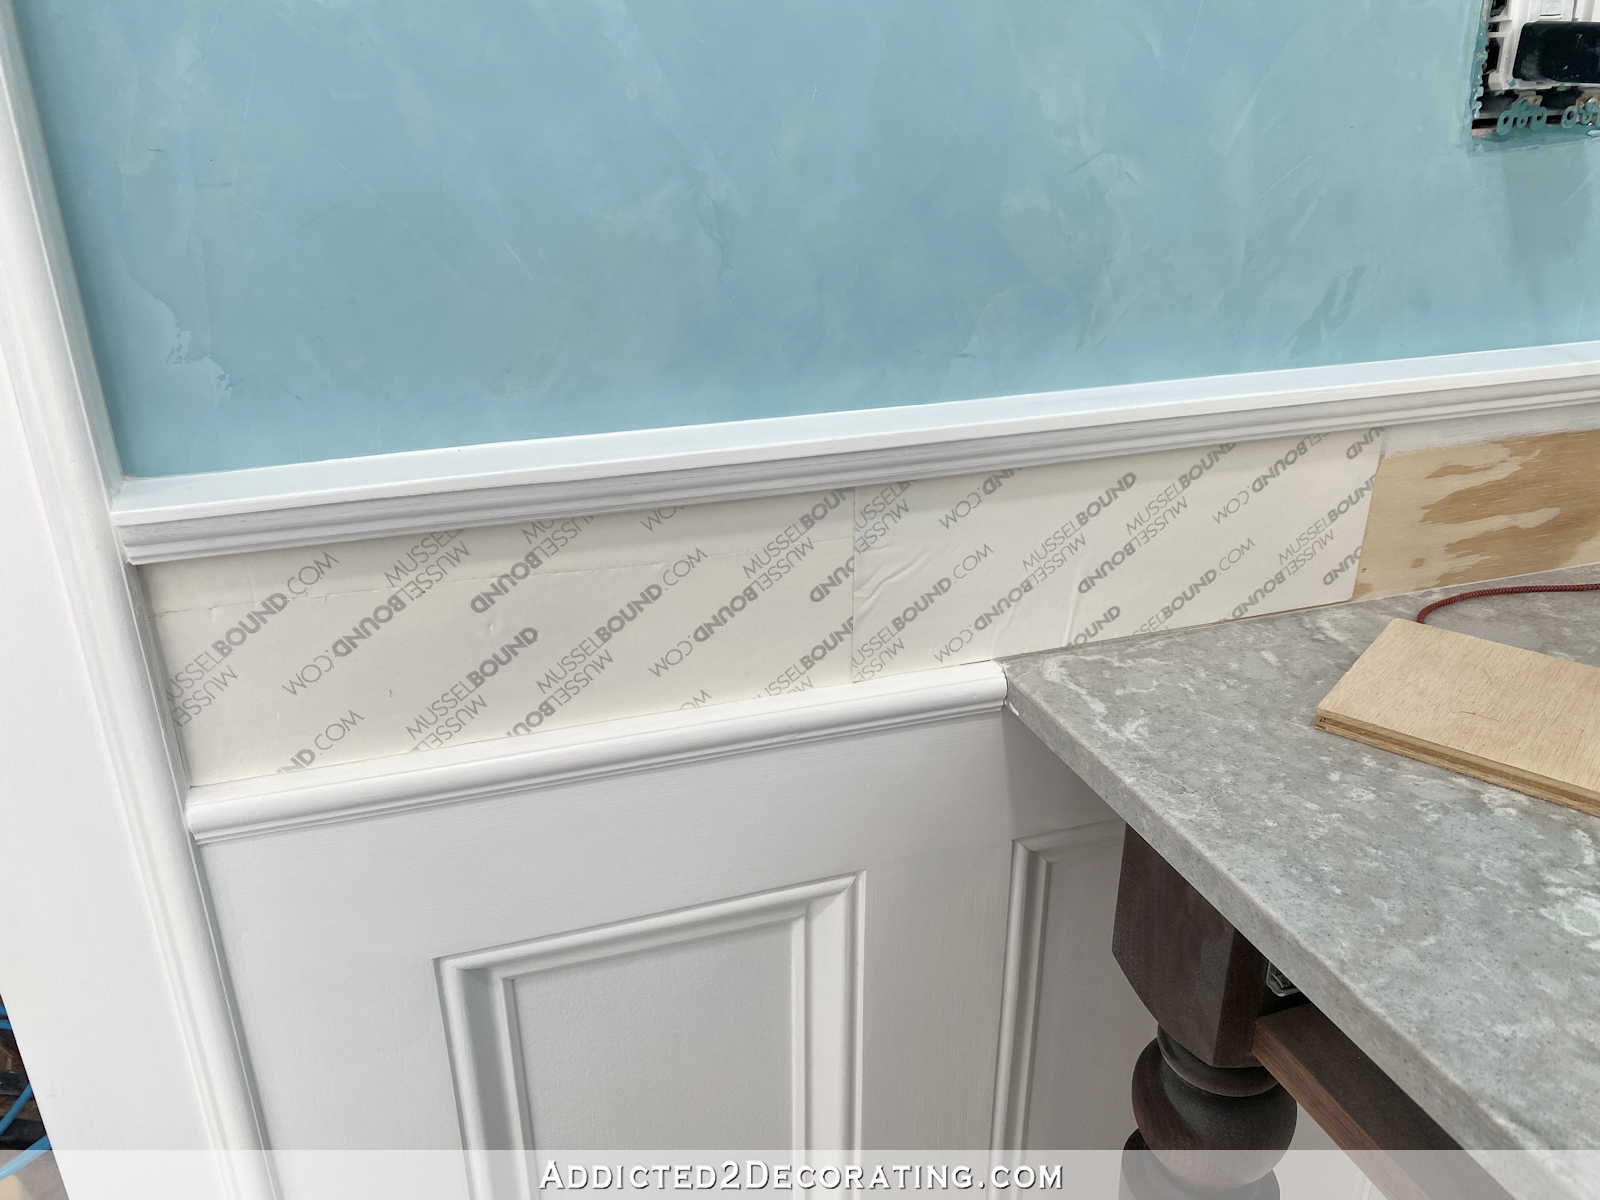
After I had all of that space lined with the Musselbound adhesive backing, I peeled off the protecting paper from the entrance, after which pressed the tile onto the backing. These things is VERY sticky, and it’s not simple to regulate the tiles as soon as they’re caught on. I wouldn’t say it’s an “just one likelihood” form of factor, as a result of you may get the tiles off if it’s good to readjust (not less than you may with these tiny tiles), but it surely’s not simple.
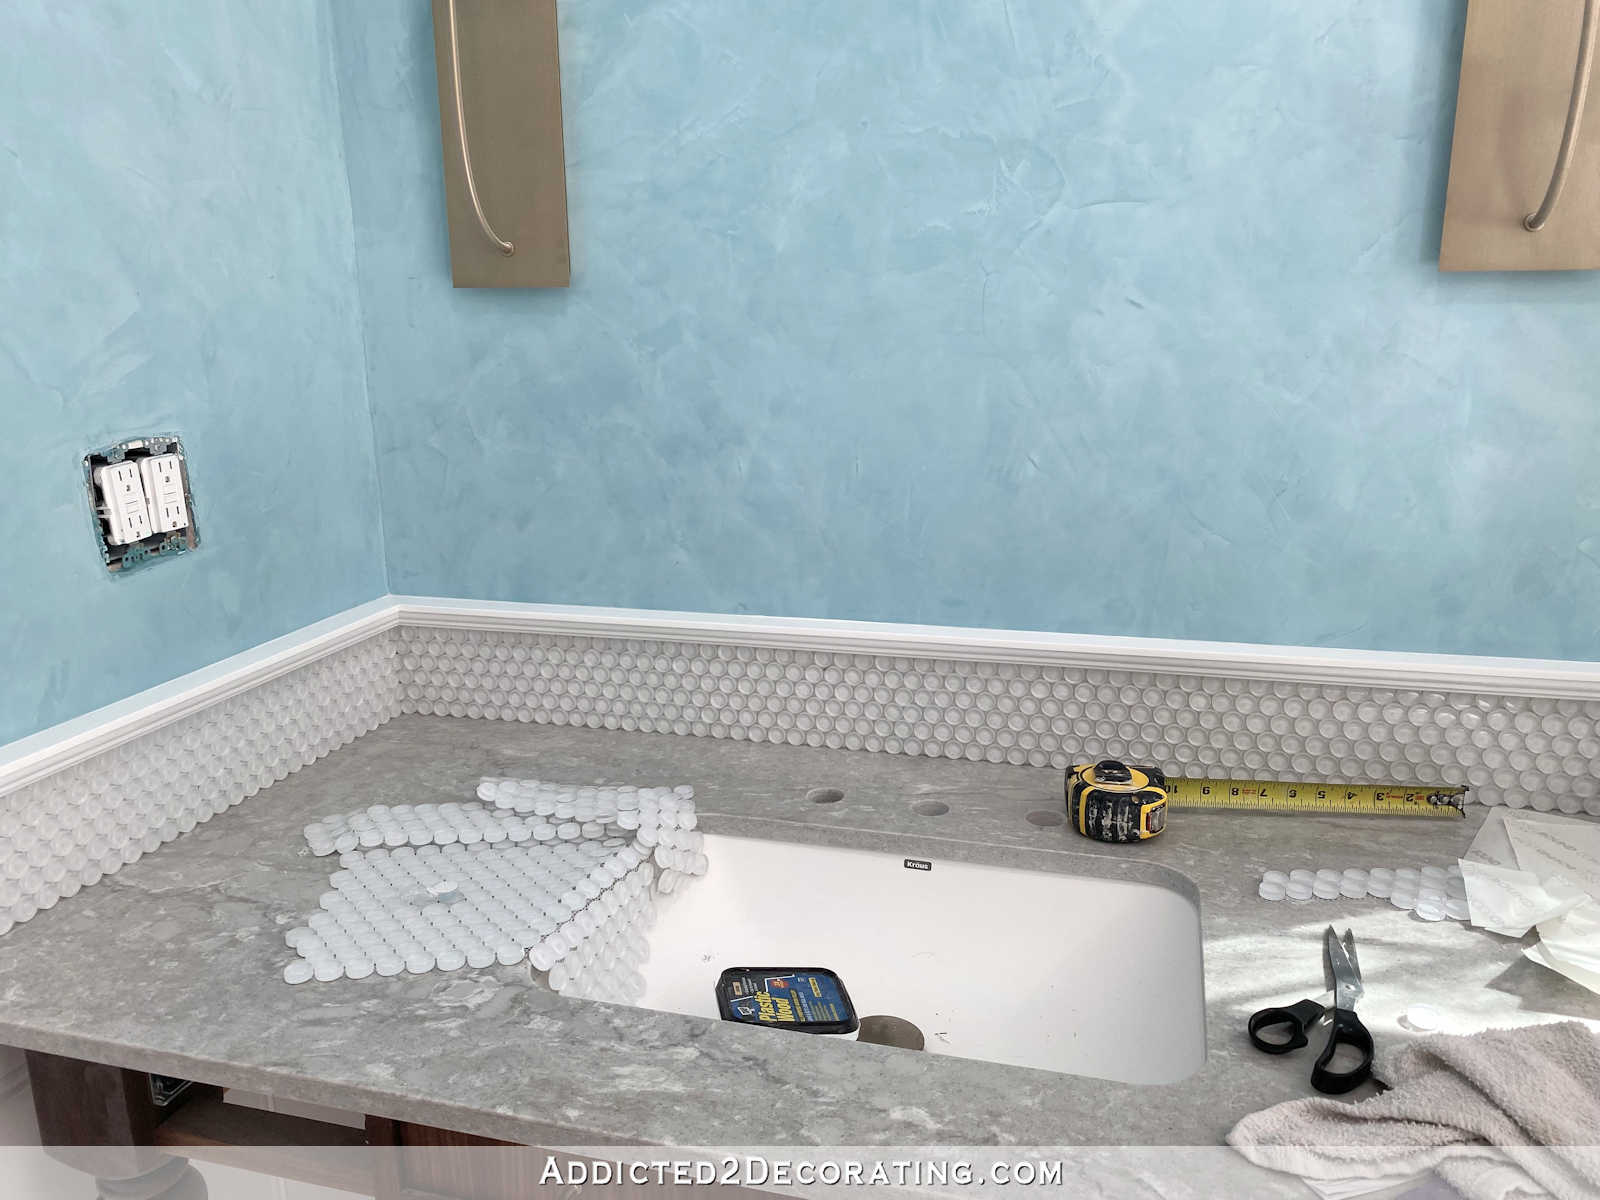
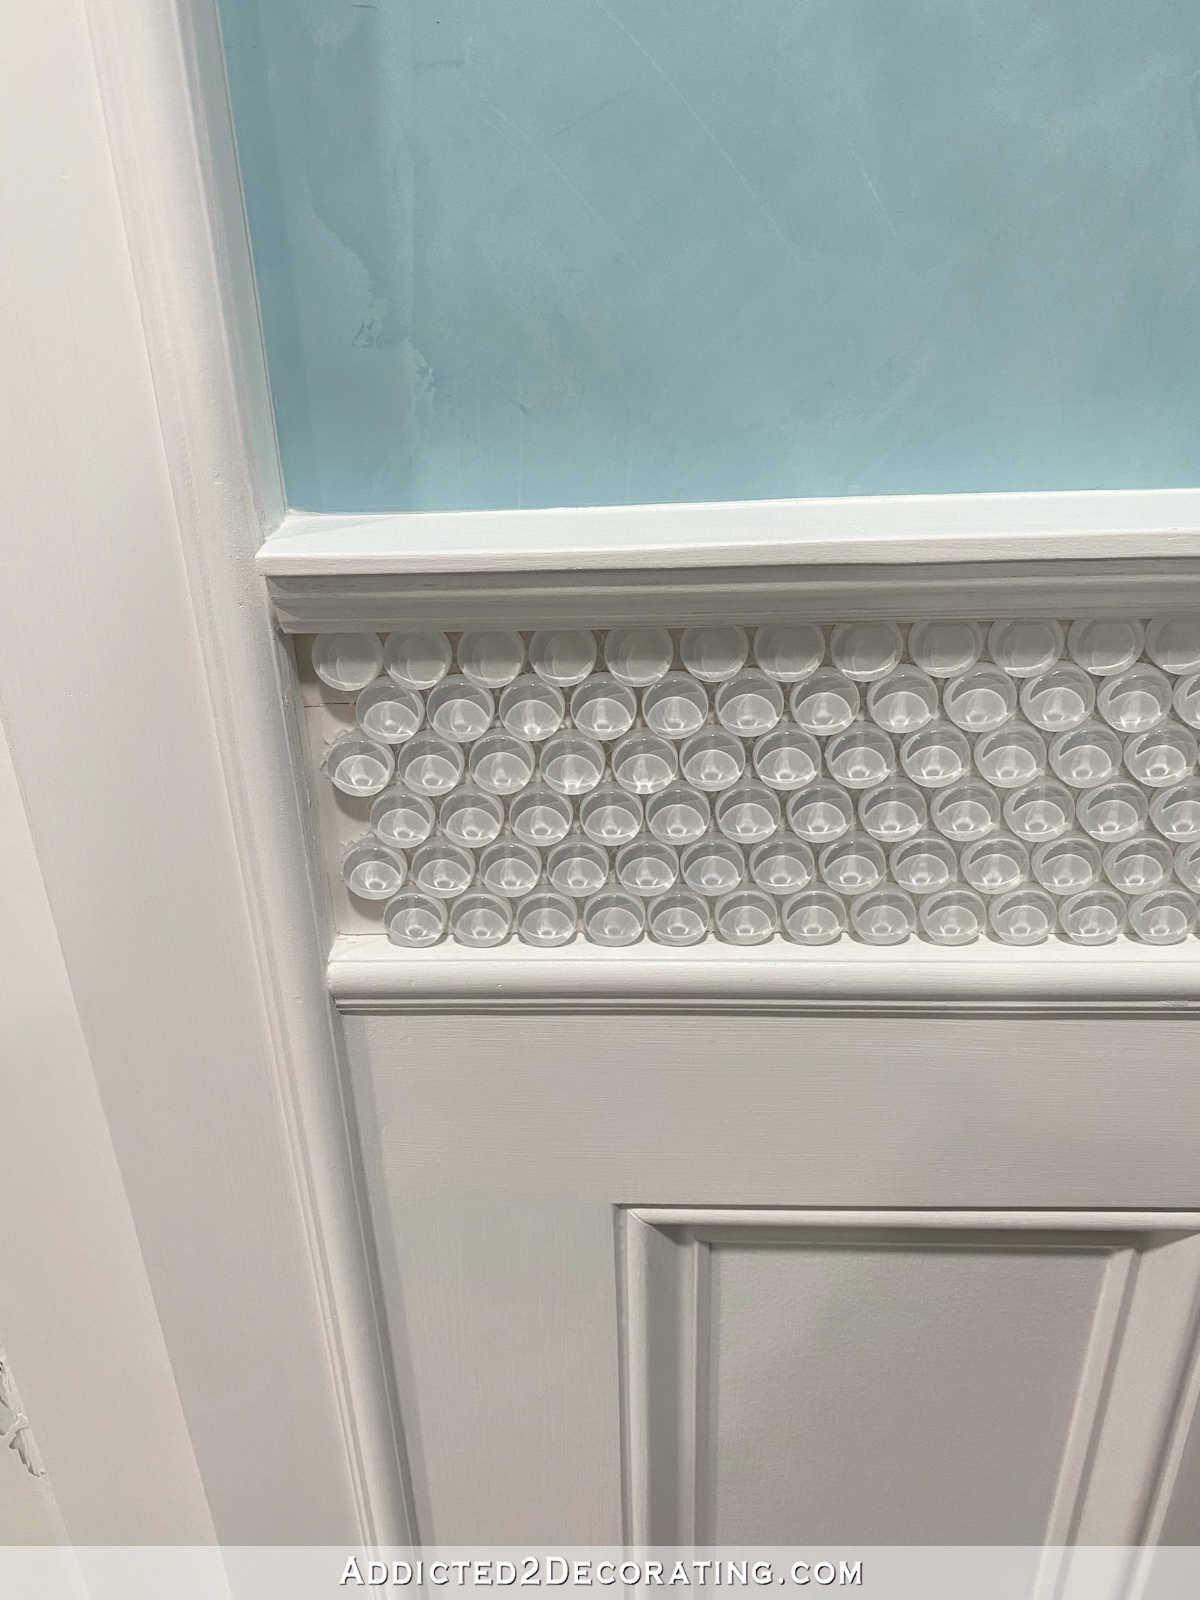
I began within the nook in order that I wouldn’t must make any cuts on this nook. As a result of penny tiles are staggered, they match collectively in a nook flawlessly and seamlessly with out having to make cuts.
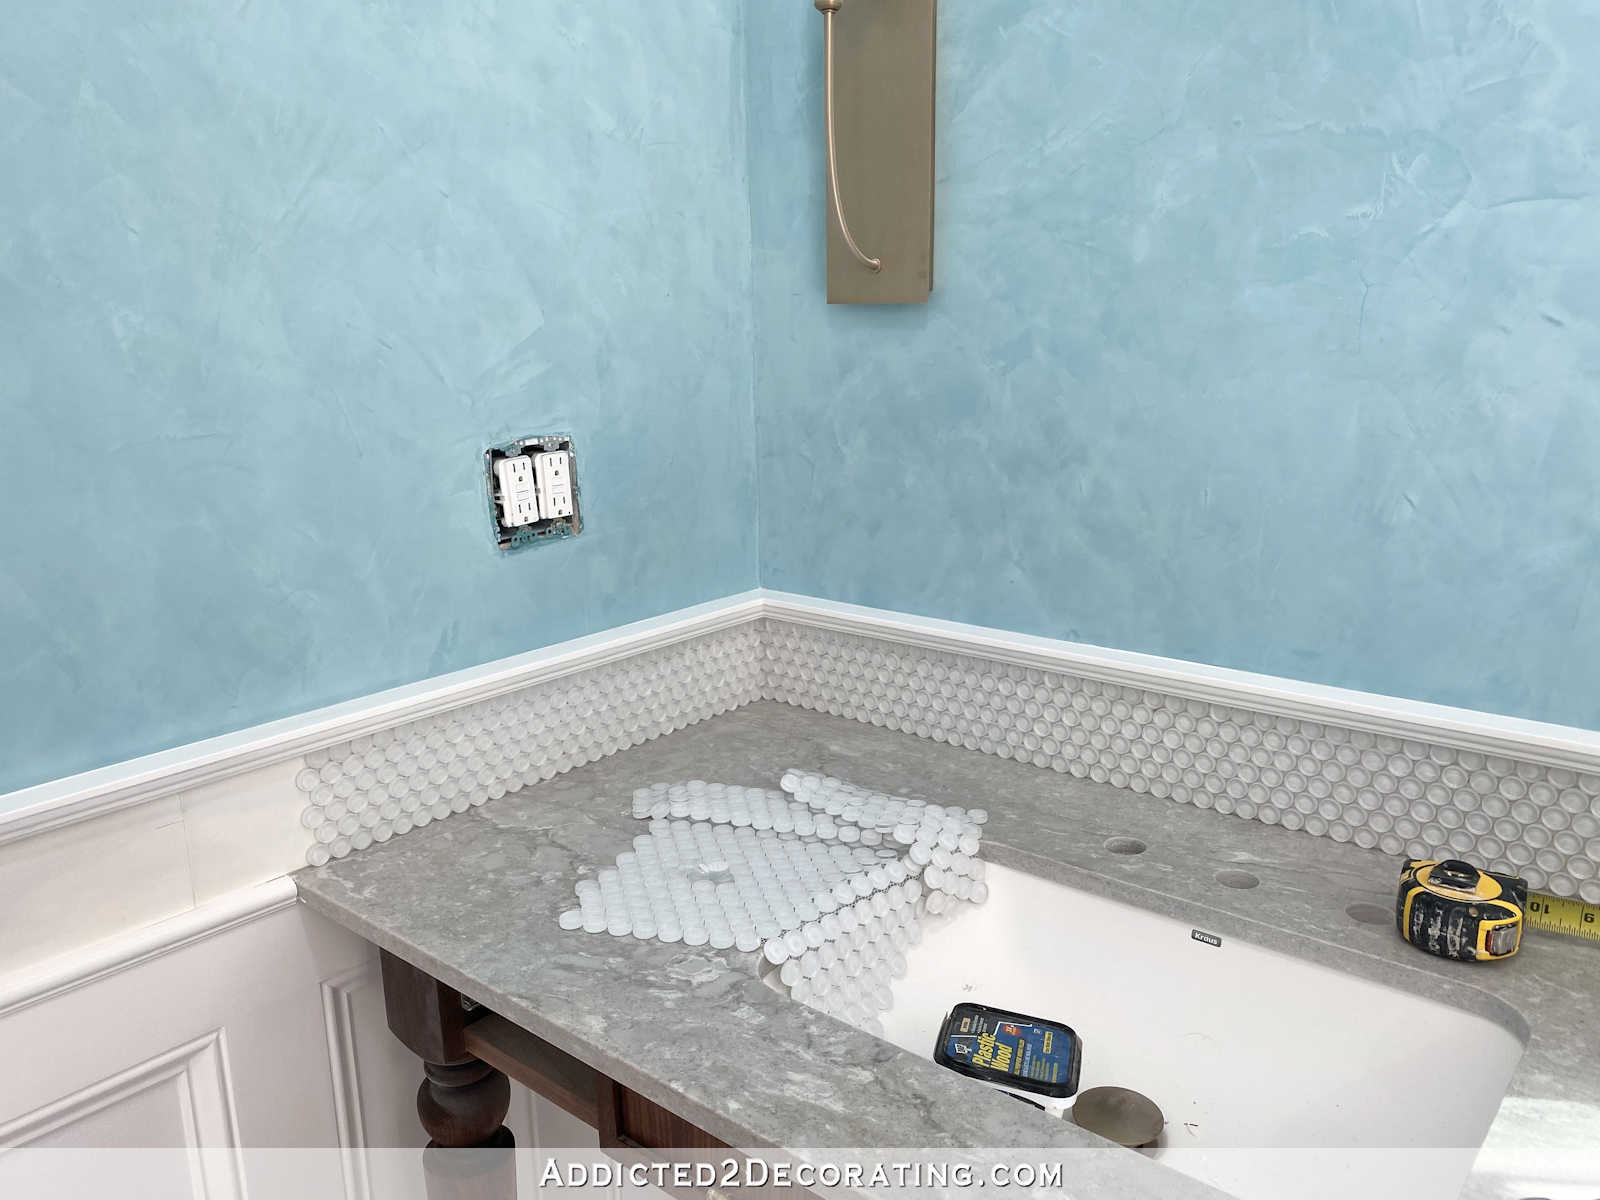
After which I labored out from the nook in the direction of the ends…
The ends weren’t really easy as a result of these tiles did require cuts. I needed to buy this glass tile nipper to trim these tiles. It is a completely different form of nipper than the one you’d use for ceramic or porcelain tile.

I managed to get the tiles for this finish lower, however they’re removed from good. Let’s simply say that tumbler slicing will not be one thing I’ve ever been good at, and I’m particularly not good at it when coping with tiny items of glass. However I not less than received the 4 lower for this finish. Simply don’t look too carefully. 😀 I feel as soon as it’s grouted, my glass slicing flaws can be hidden slightly higher.
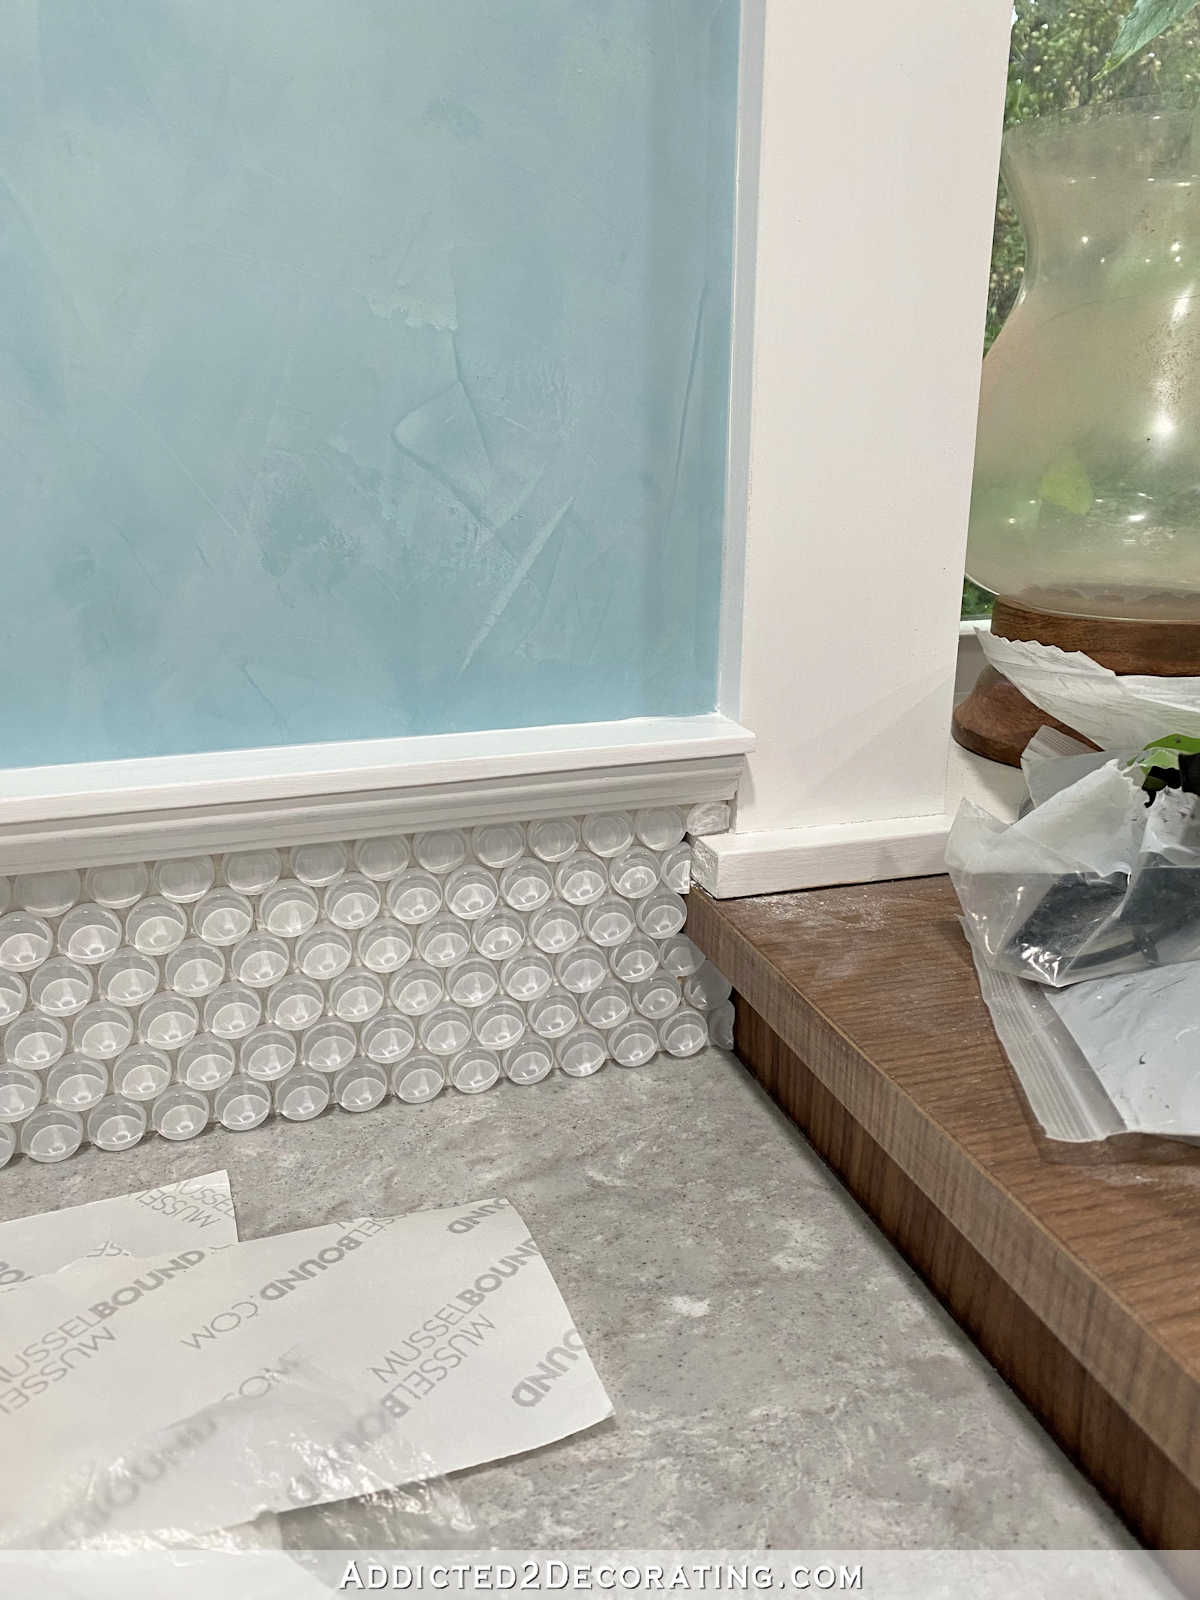
Sadly, I attempted over and again and again to chop those for the opposite areas, however I haven’t had any success but. So the world the place the tile lifeless ends into the door casing nonetheless seems like this…
Right here’s a more in-depth view so that you could see what I’m coping with…
After which I’ve the 2 ends of this part that may want tiles lower.
I’ll simply should follow a bit extra, after which do my greatest. I can assure that these received’t be good, however I’m hoping that when it’s grouted, these little lower items on the ends received’t be all that noticeable. However, I imply, I can’t actually do higher than my greatest effort, in order that must be ok.
This can be my remaining submit on the step-by-step wainscoting venture. I’ll simply replace this submit as soon as it’s all grouted. Hopefully that can be later as we speak, however that every one relies on how lengthy it takes me to chop these tiles. 😀

Addicted 2 Adorning is the place I share my DIY and adorning journey as I rework and embellish the 1948 fixer higher that my husband, Matt, and I purchased in 2013. Matt has M.S. and is unable to do bodily work, so I do the vast majority of the work on the home on my own. You can learn more about me here.


