-Working with Meta to design it
-cutouts
-painting
-sanding
-installing
-thanks to our installers
-installing high half
-then the wallpaper
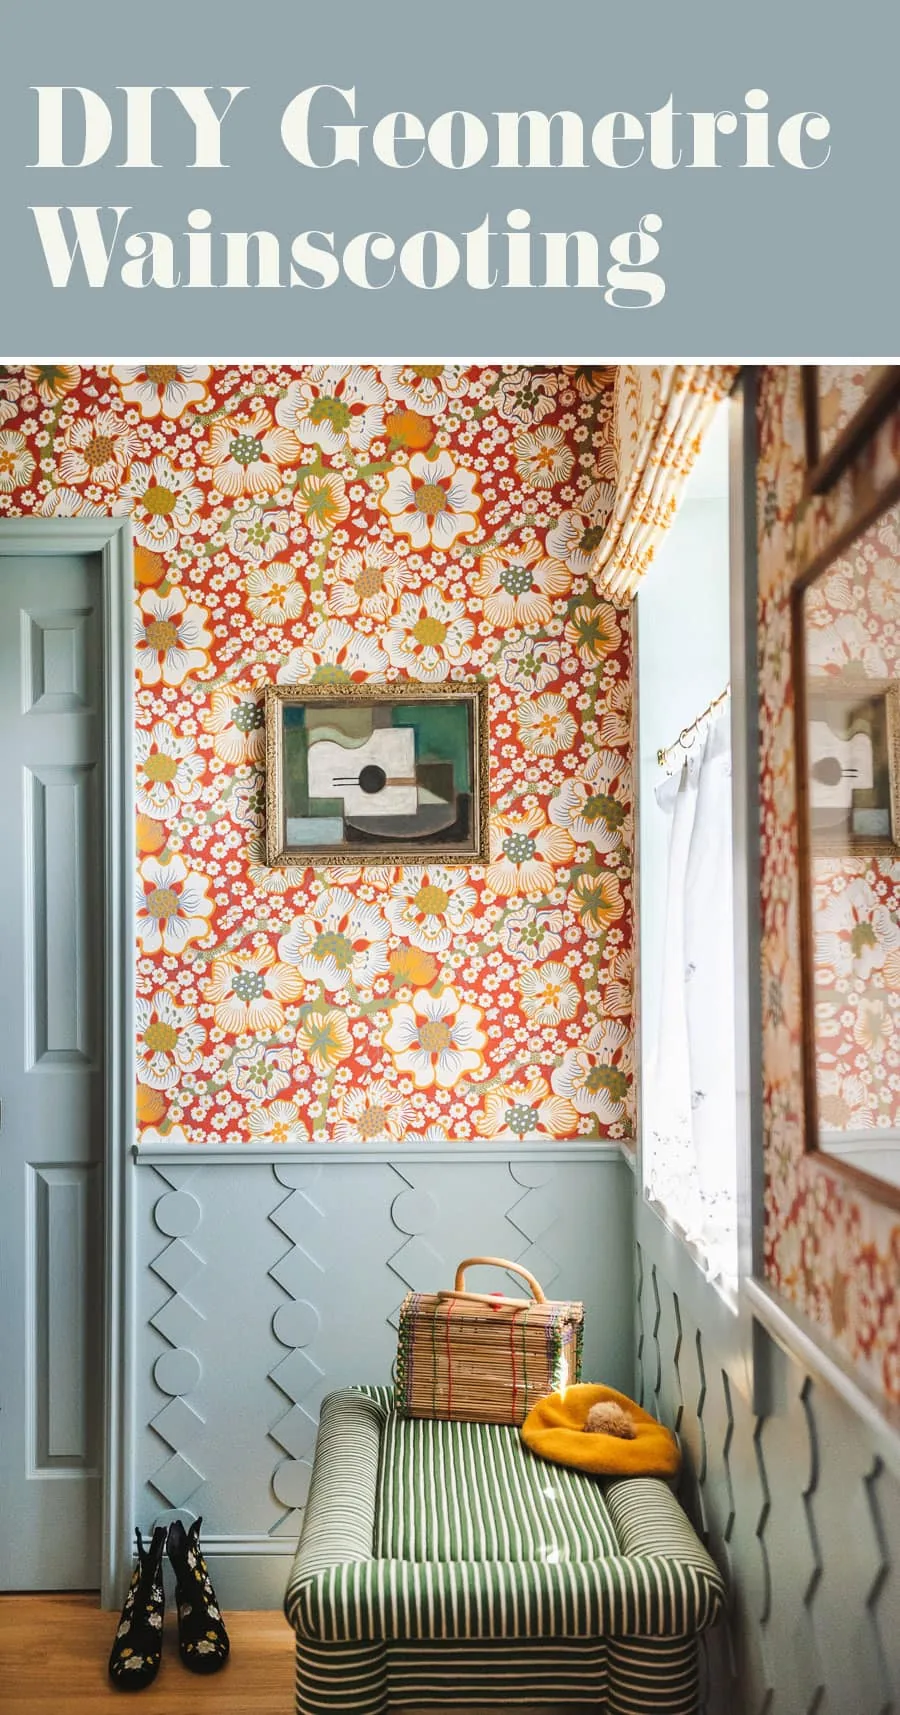
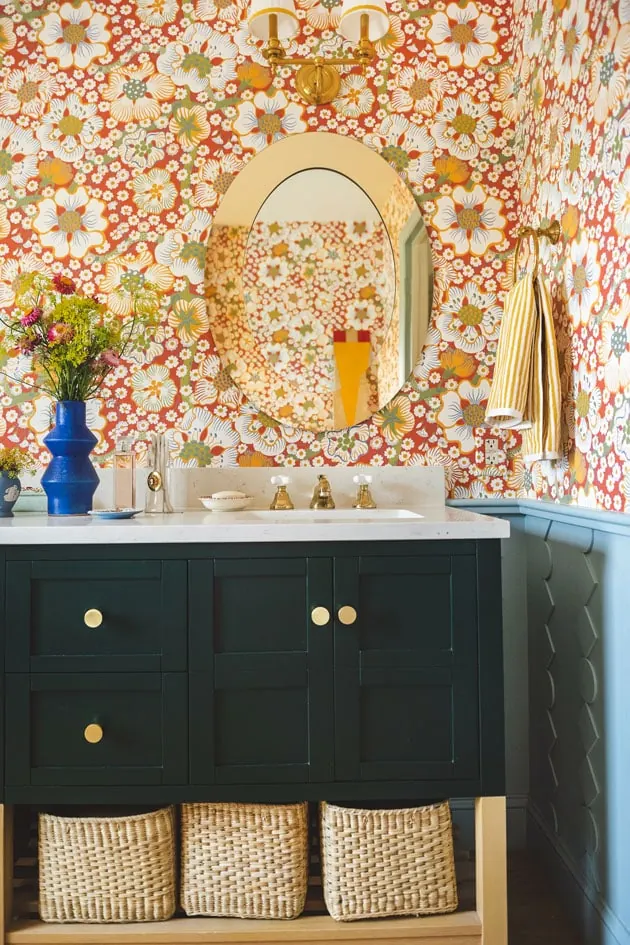
Final week I confirmed you my full bathroom remodel reveal and I promised I’d share extra about one of many largest components of the transform: the DIY circle and sq. wainscoting.
Like each DIY, it ended up being much more work than I initially thought. That’s just about the story of my life, although, so I don’t thoughts! I like the way in which it turned out, and I hope I encourage you to DIY some structural modifications in your area, too!
The inspiration for my DIY wainscoting got here from an image that my buddy, inside designer, Meta Coleman, noticed of a door body in Paris. You may see it within the collage beneath (backside proper). She introduced the concept to me in her temper board beneath: and although I didn’t completely get it at first, I by no means noticed no to Meta. I say sure after which I determine it out!
You may DIY wainscoting, too!
Look. I do know that any time a room transform begins means bringing out the facility instruments quite a lot of you in all probability sigh and put the mission on the shelf. DIY wainscoting is fairly concerned, and it might probably appear overwhelming! Concern not, although, as a result of I’m right here to indicate you that it’s truly completely doable.
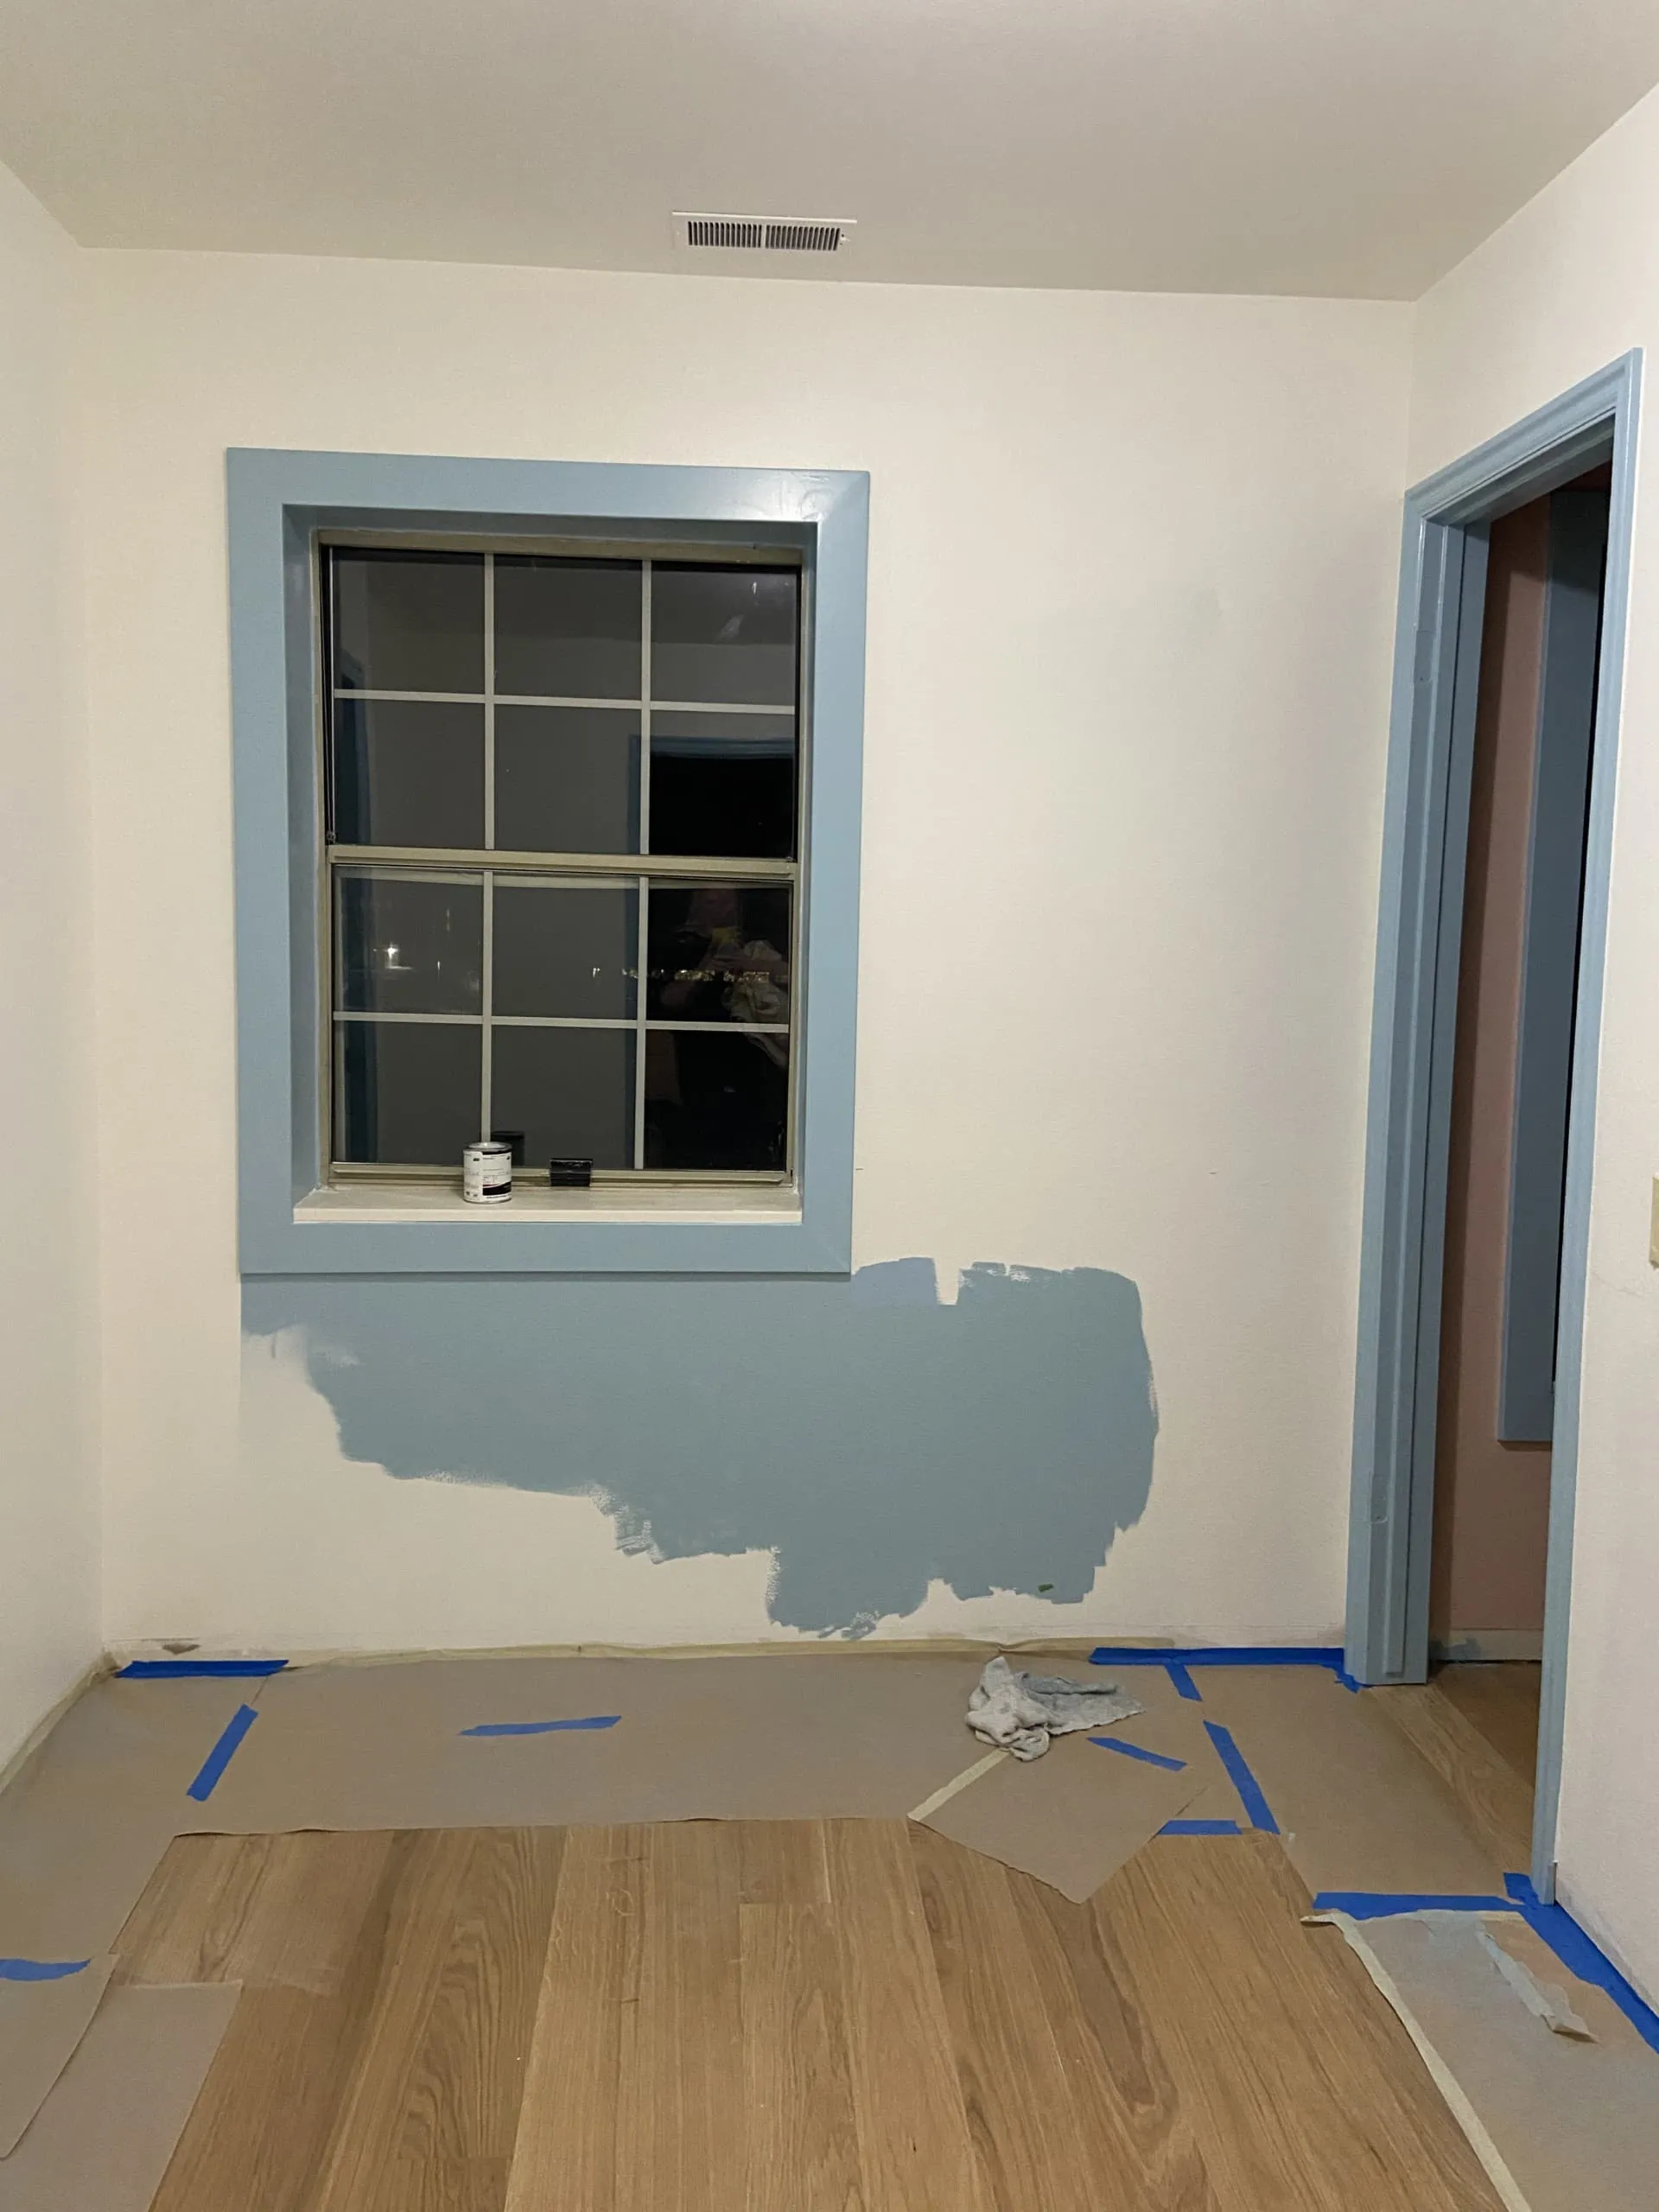
Step one in our transform was the flooring, which we obtained from Stuga Studios. I point out it right here as a result of it made a HUGE distinction in our area, which was actually unfinished. With the ability to stroll by way of your home with out footwear on makes a giant, massive distinction!
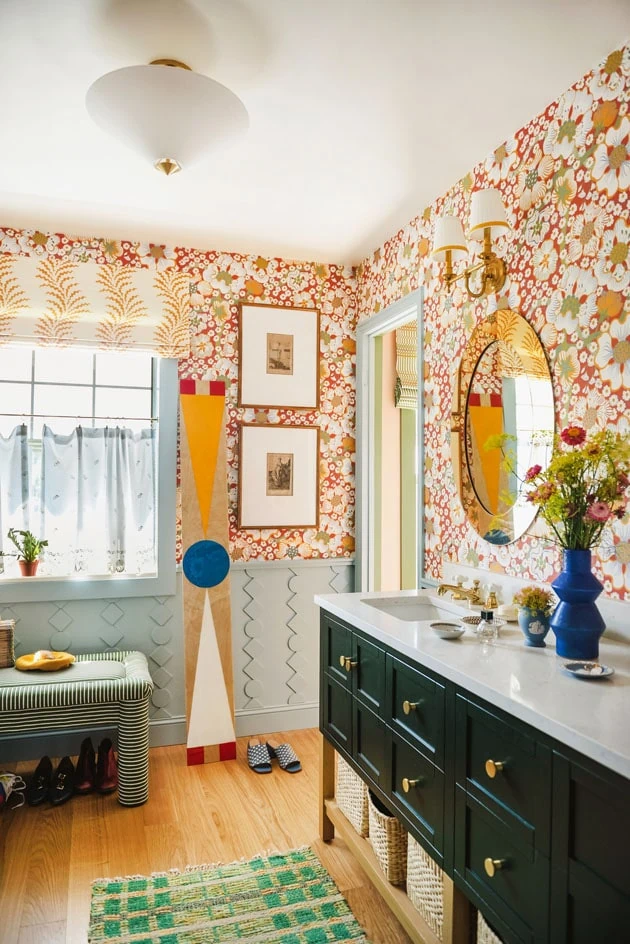
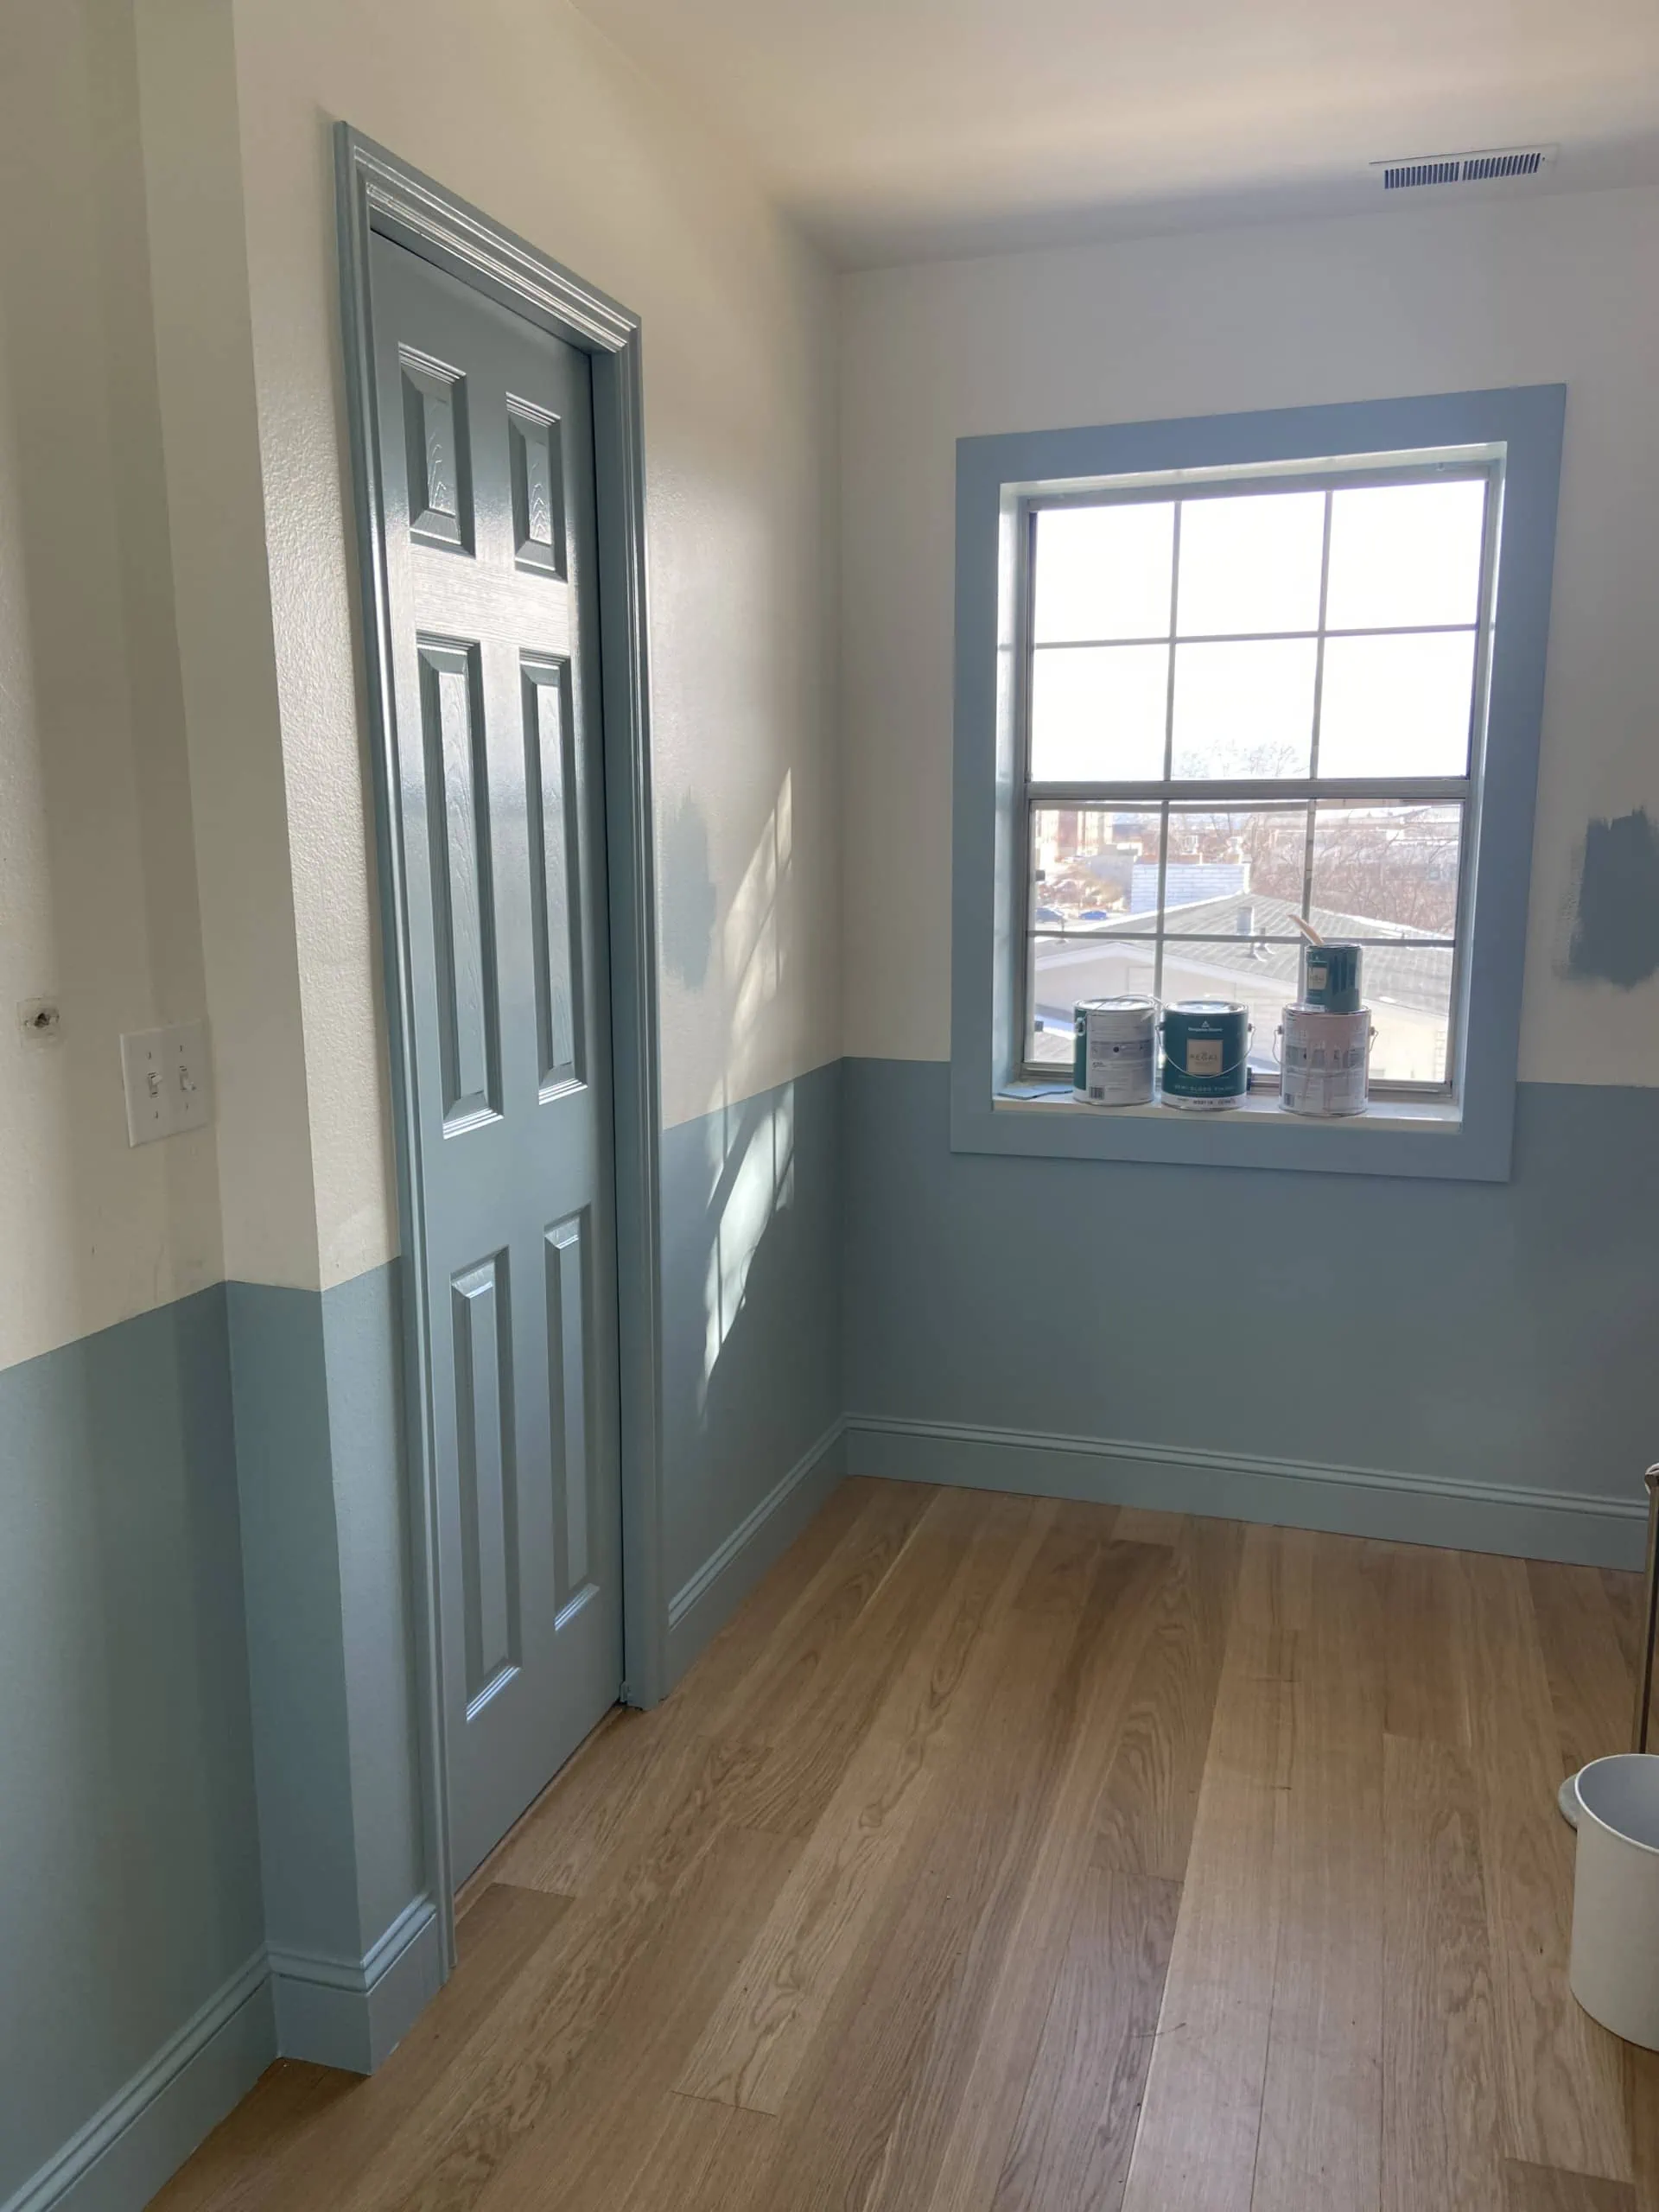
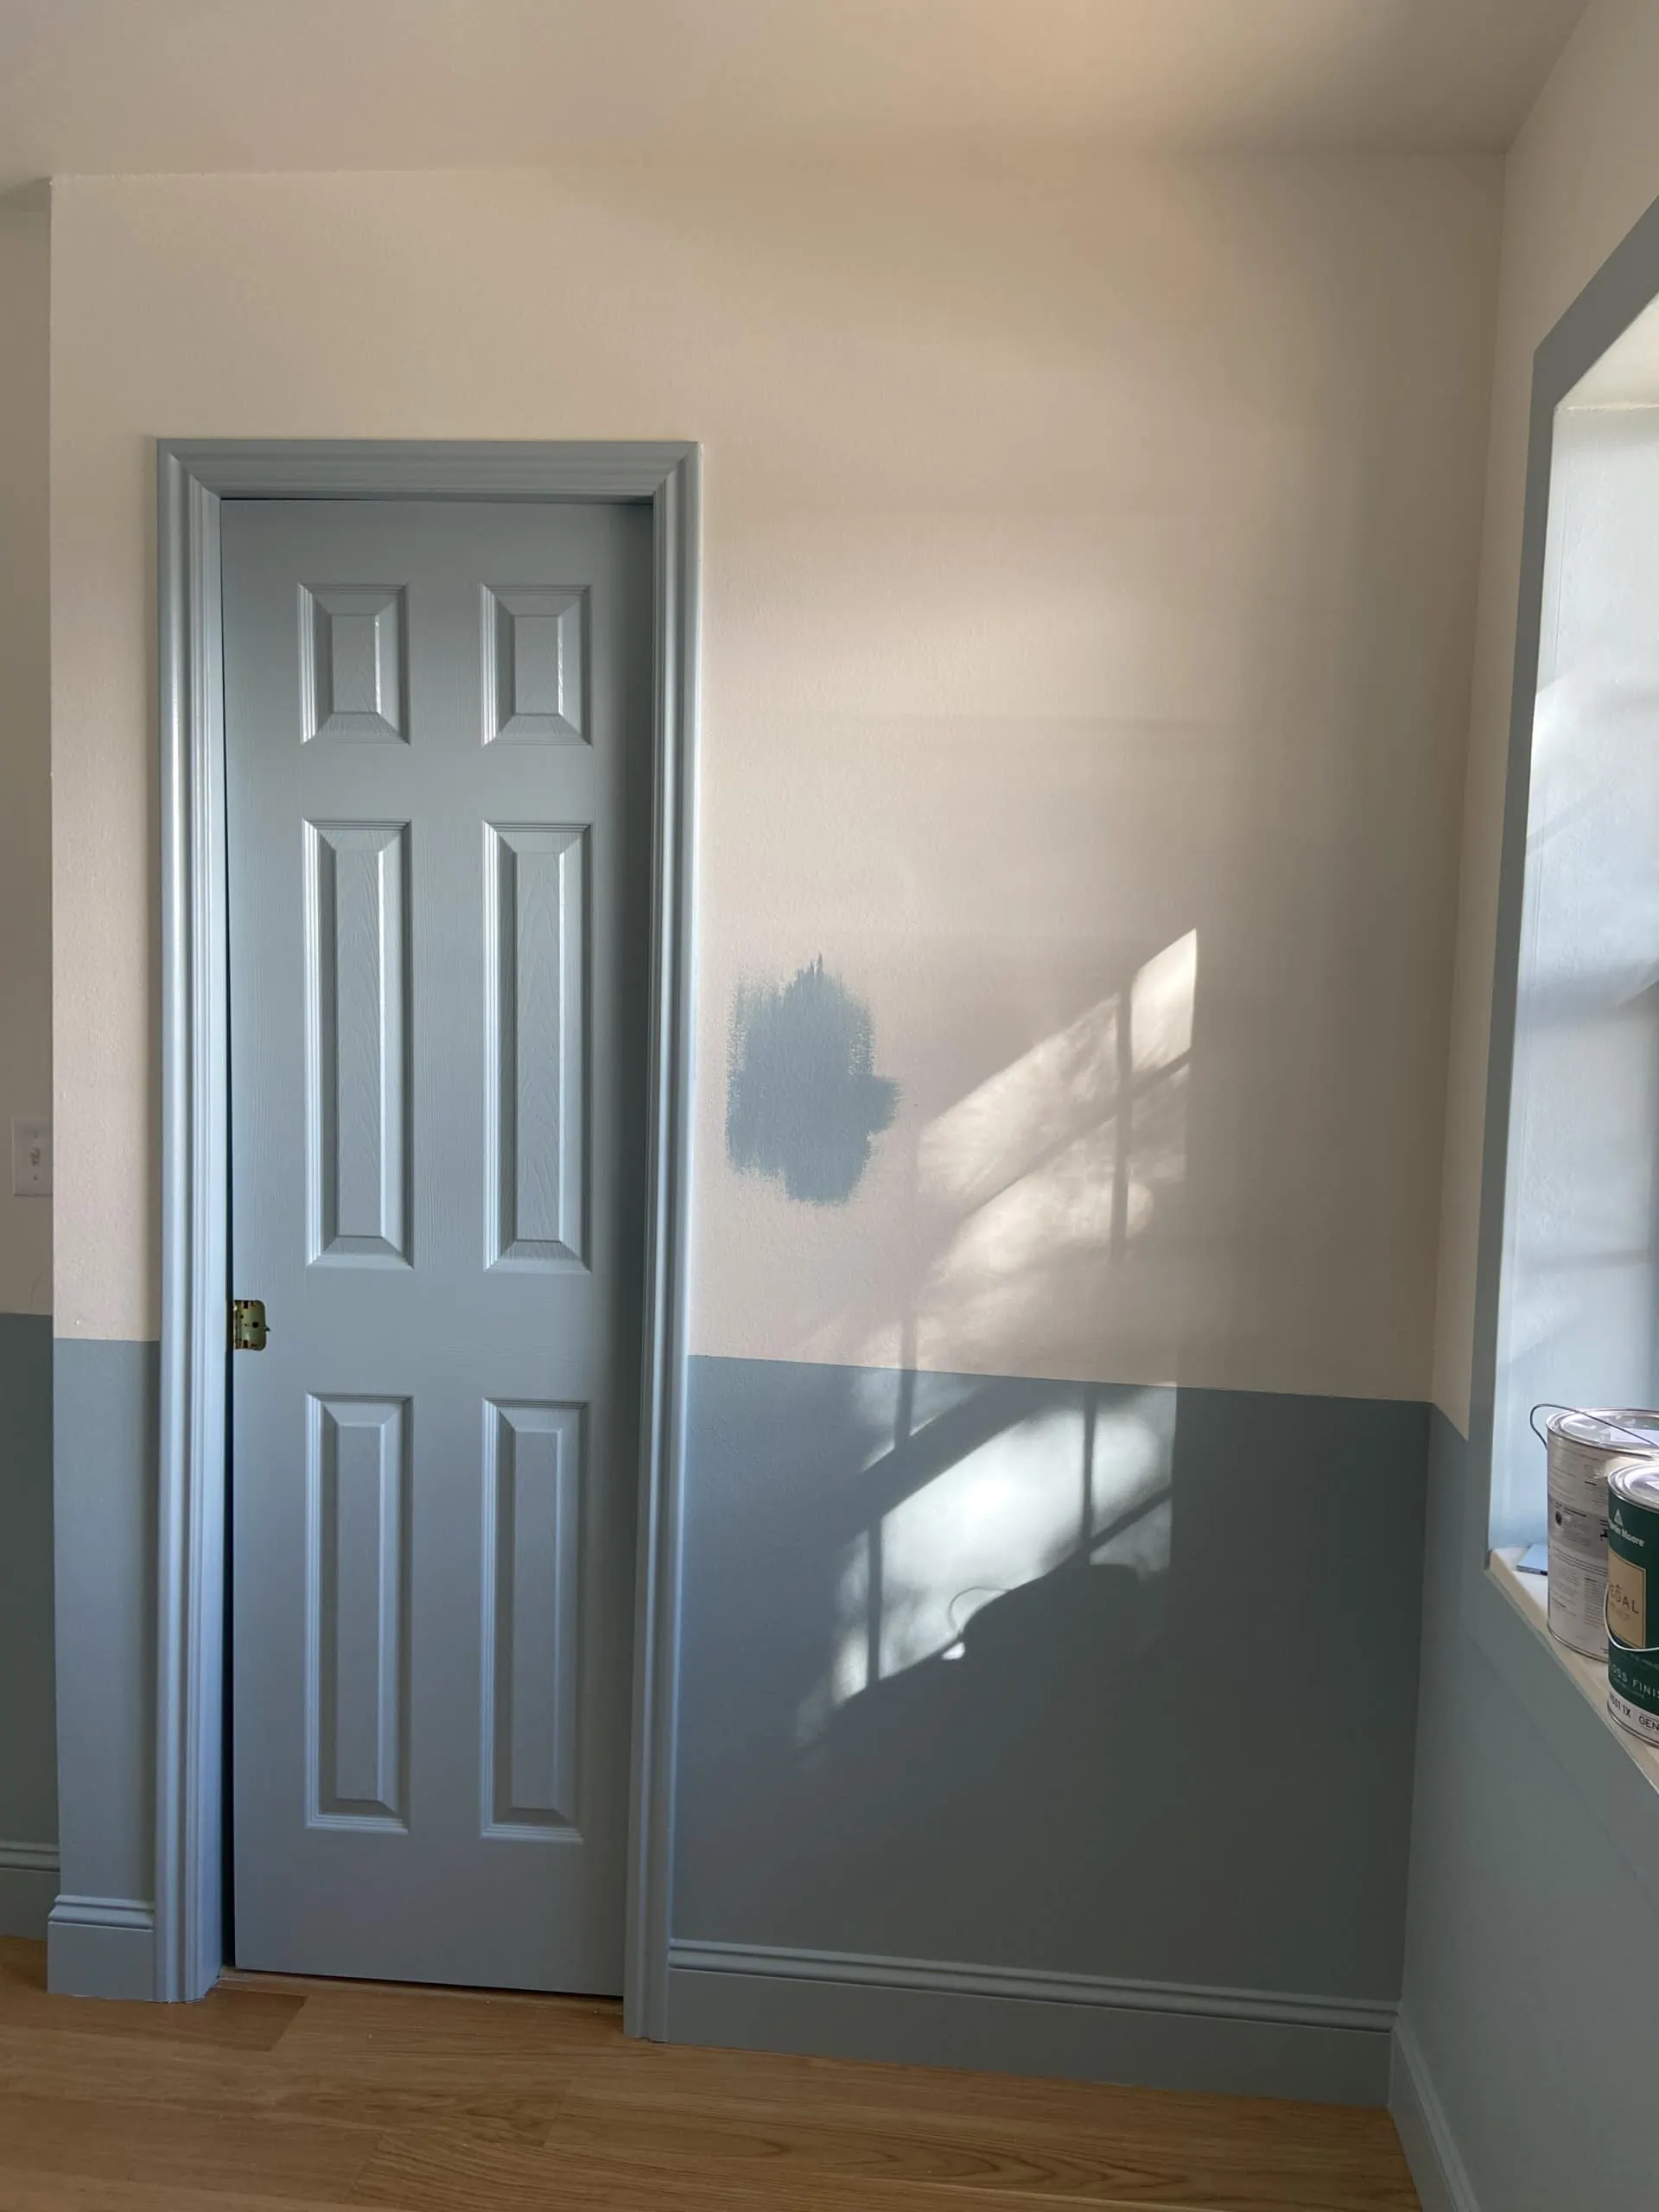
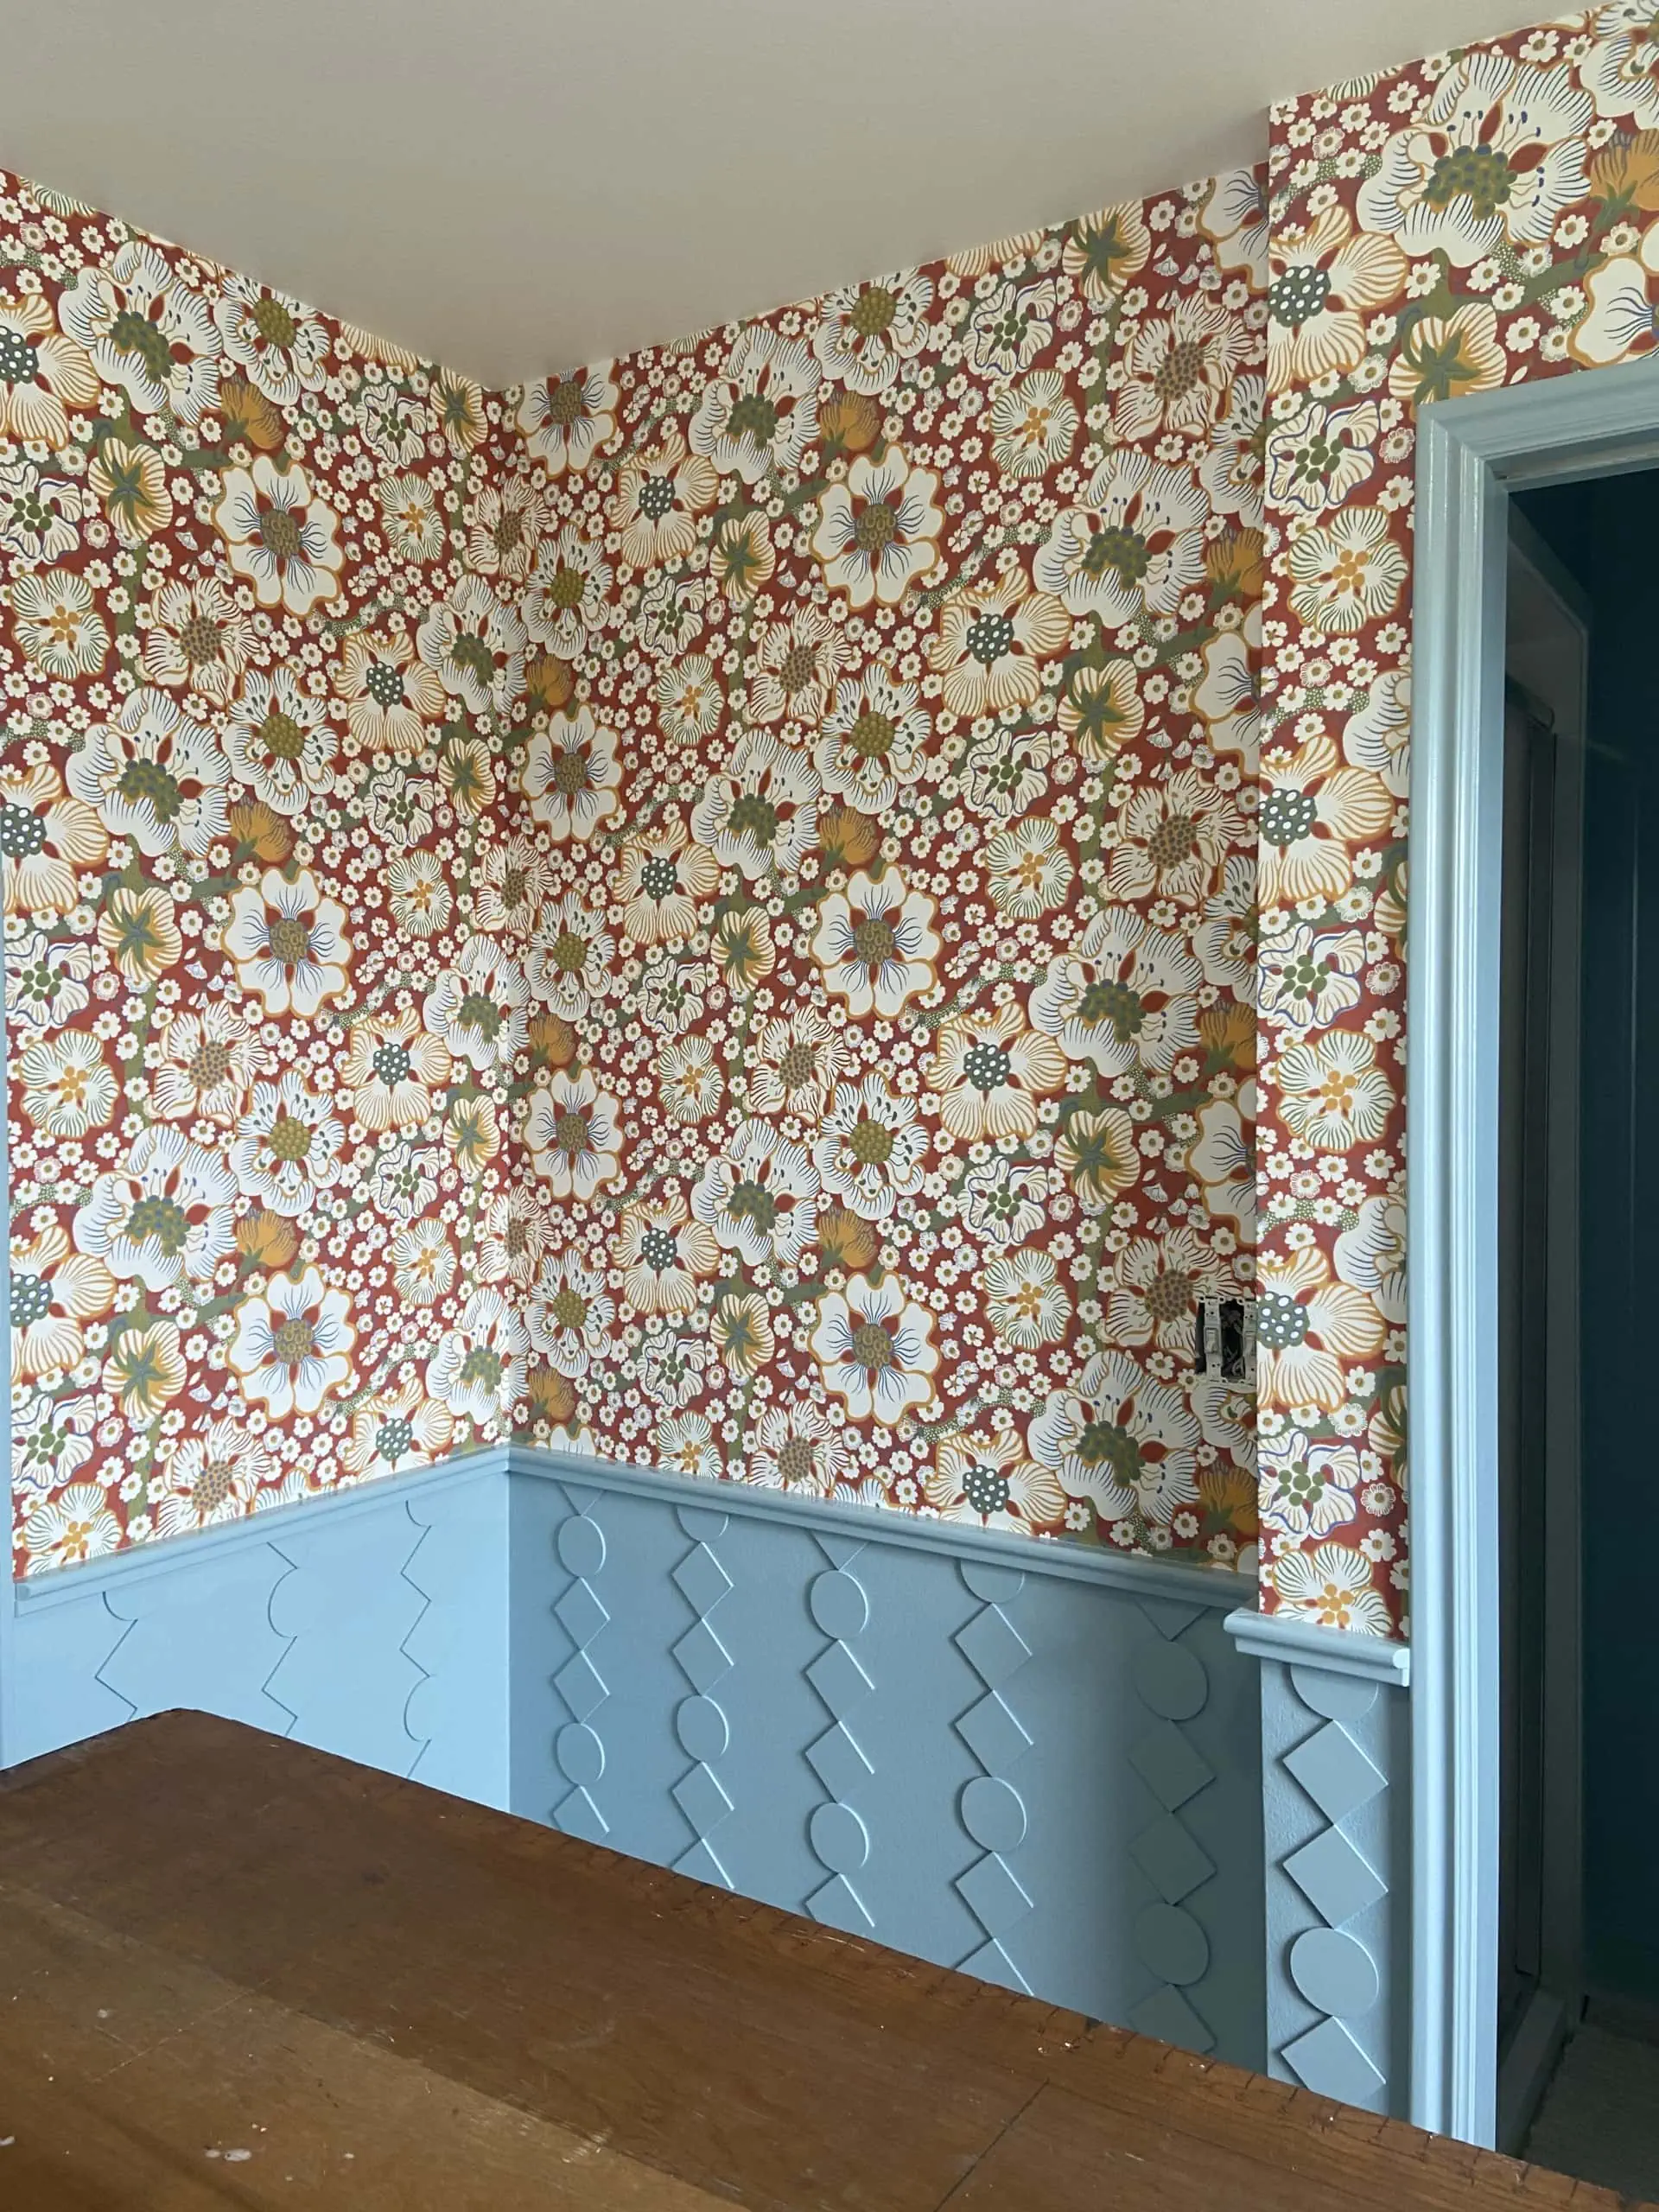
Issues obtained actually thrilling after the ground was put in and it was time to care for the partitions. I knew from Meta’s authentic design that I wished the underside half of the partitions to be a light-weight blue coloration to offset and funky down the purple Josef Frank wallpaper that may cowl the remainder of the partitions. So one night time I simply began portray!
The circle/sq. sample
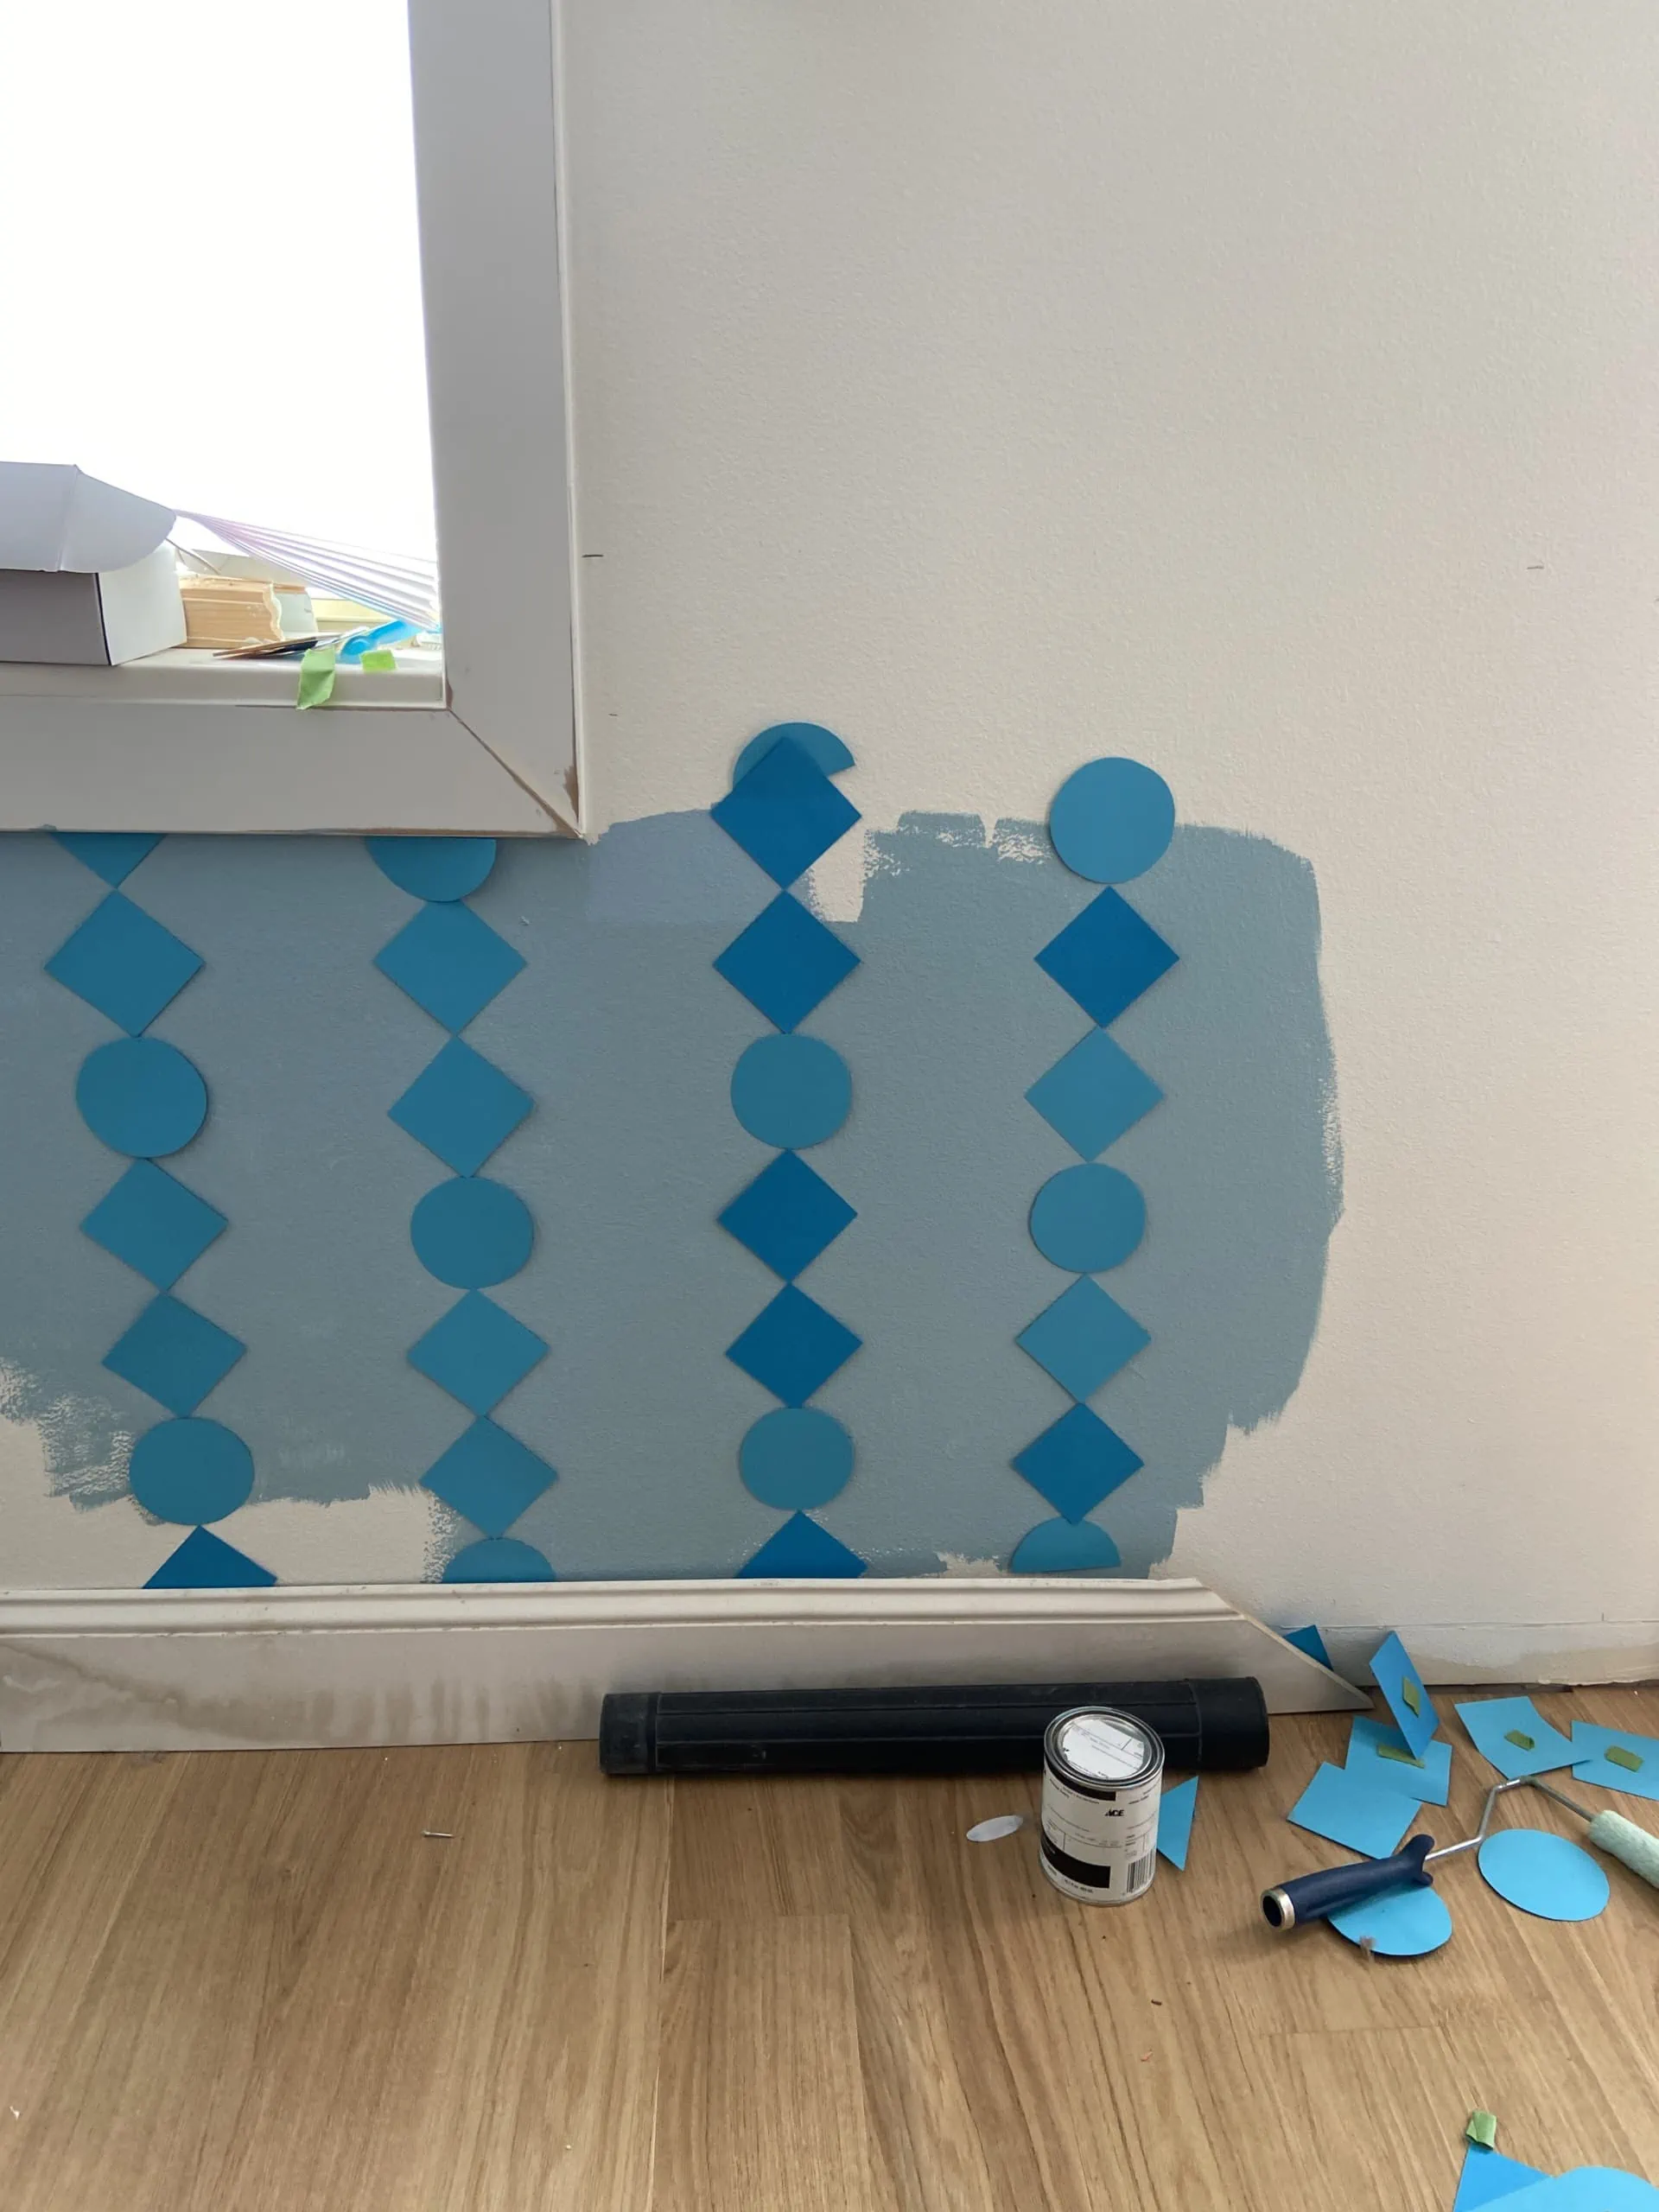
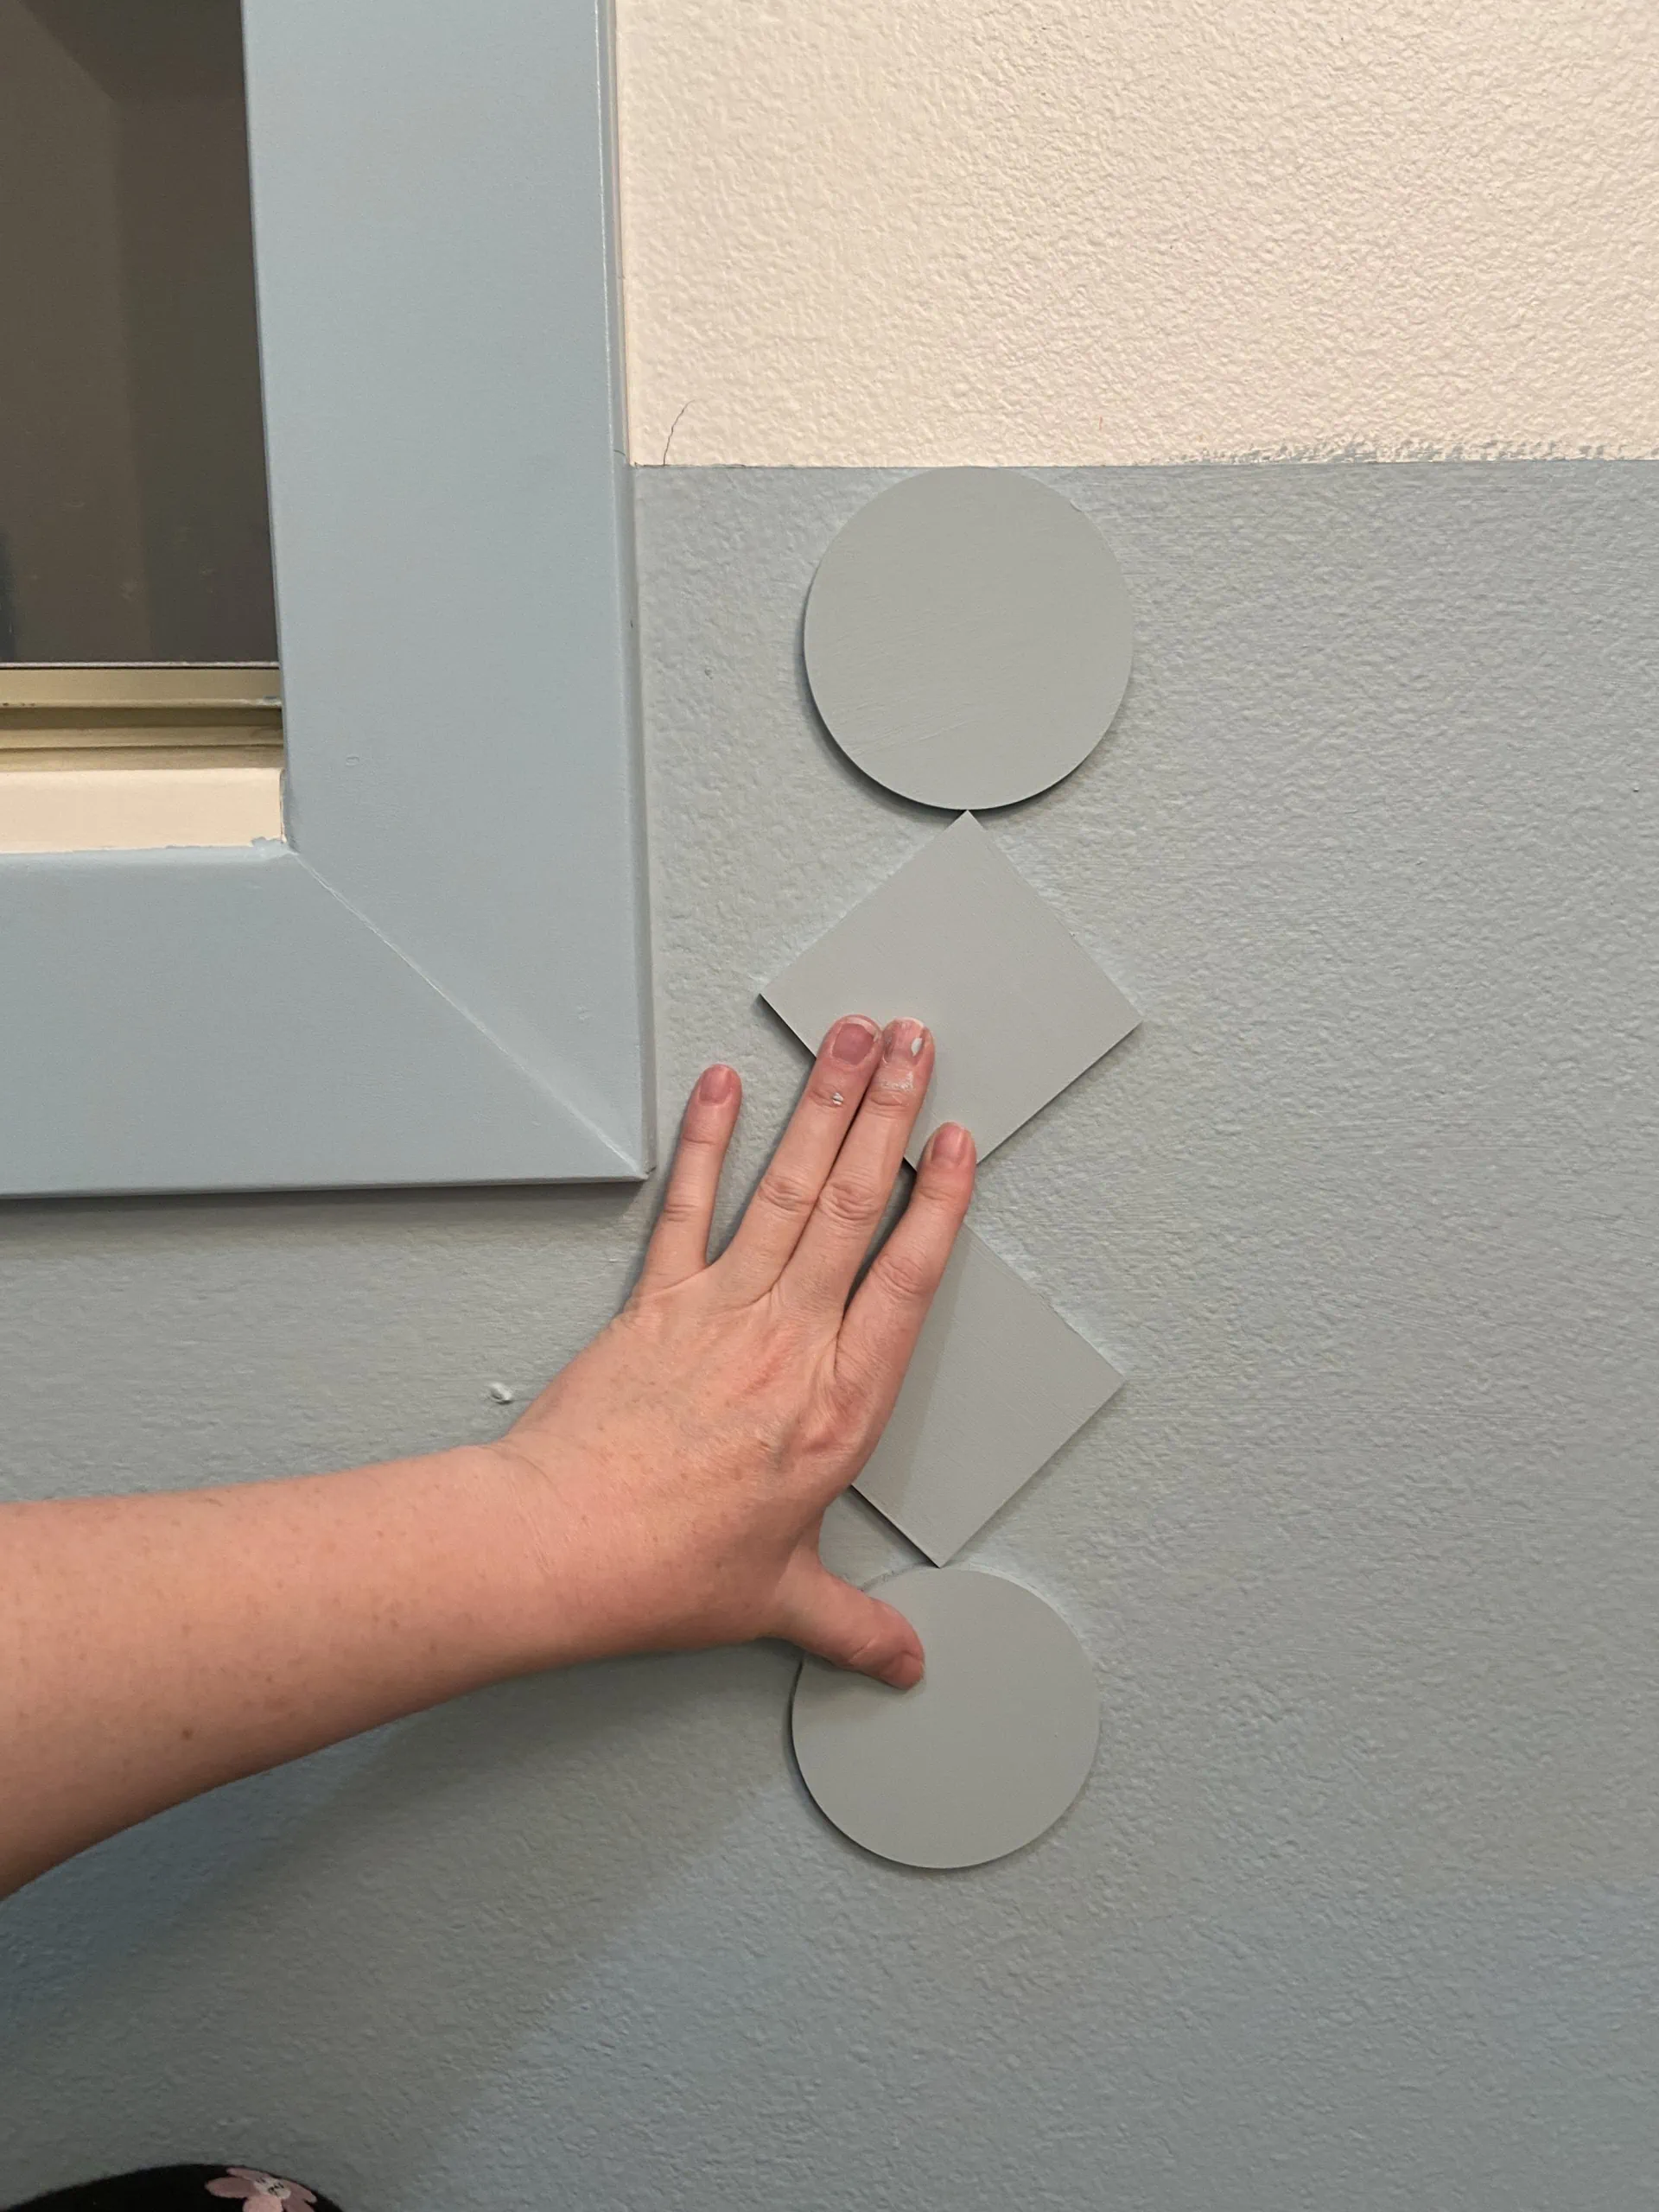
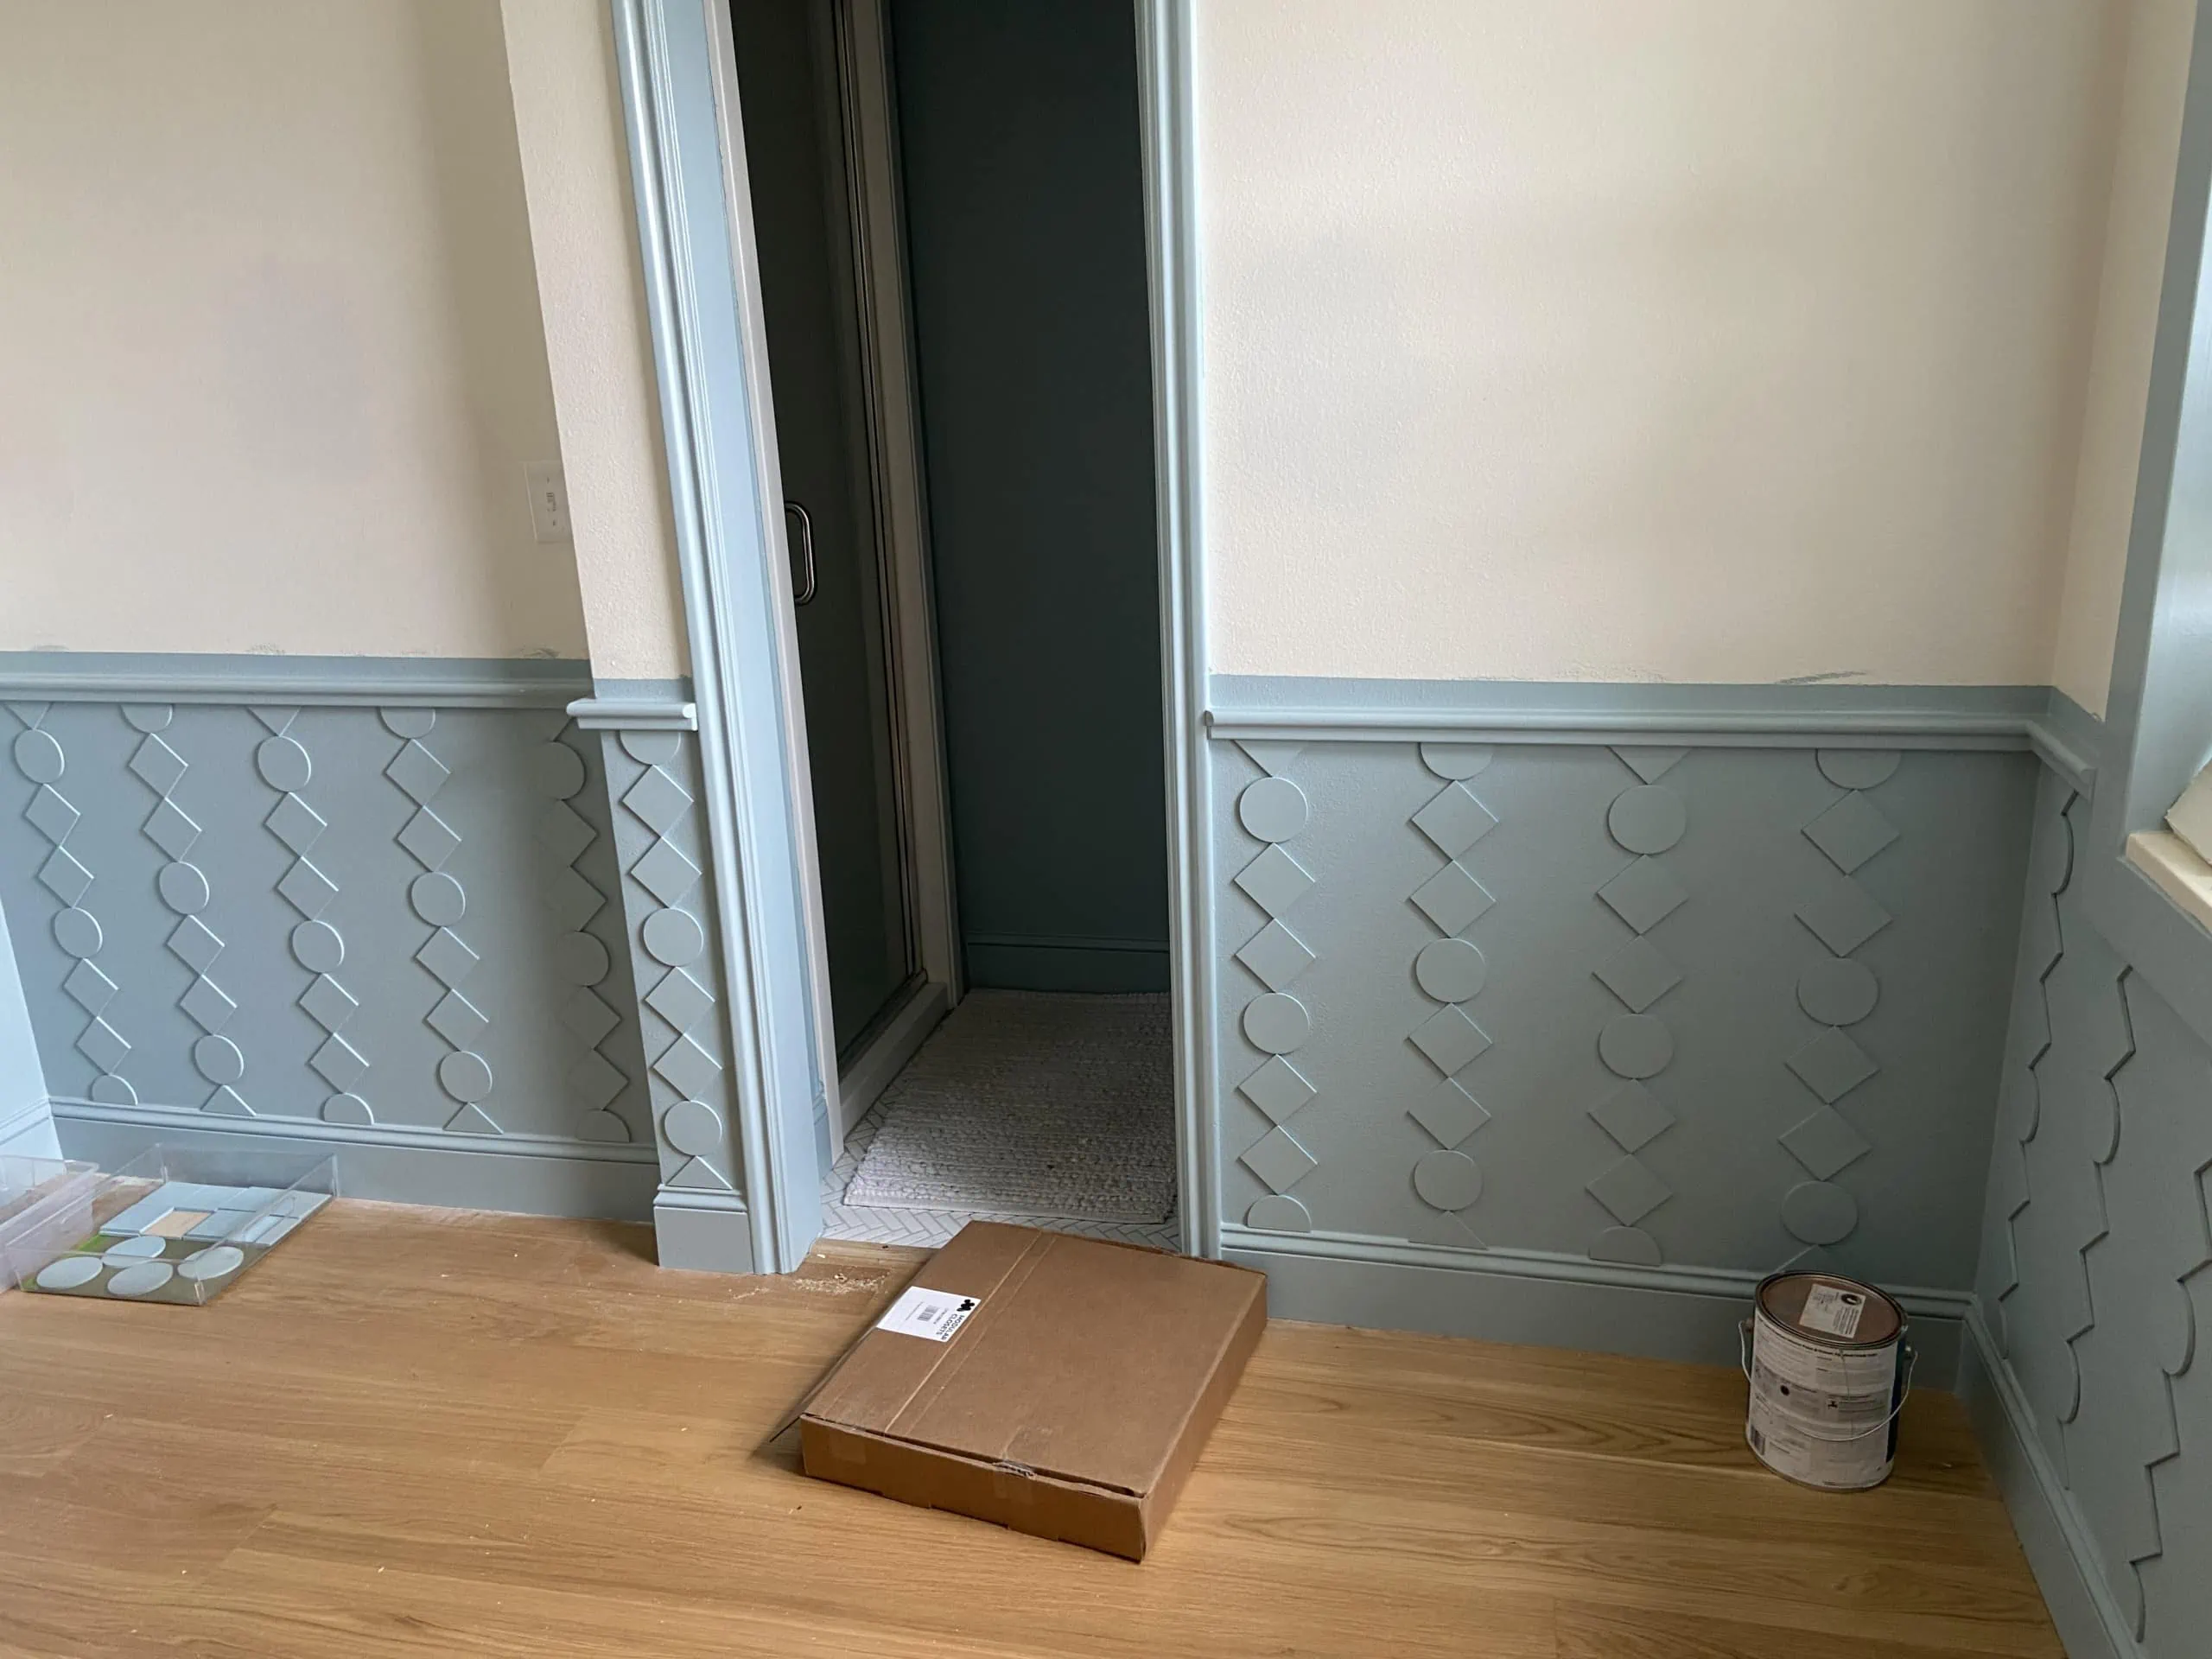
One of many trickiest components of my DIY wainscoting set up was mapping out precisely how tall I wished the chair rail to be, how I might match the picket cutouts, and the place I wanted to chop a few of them all the way down to measurement. I taped up paper diamonds and circles to determine the wainscoting peak in addition to distance between columns.
I extremely advocate making paper mockups everytime you do a DIY like this, as a result of they’re really easy to regulate and tweak. I attempted just a few variations: every column with the identical sample after which switched it round so each different one was the identical. I attempted an ABA sample in addition to an ABBA sample and determined to go together with each different row being the identical and beginning at a unique level.
I additionally needed to mess around with how massive each could be and what number of shapes I would want. All of them have been comprised of maple plywood 1/4″ thick. The circle was 3.5″ in diameter, however the square had to be slightly smaller at 3″. I labored with Zach at Laser Lingo and he was fantastic. He even gave me a 20% low cost for ordering so many. The circles have been a prepared made product he already had right here. It got here out to about $200 for the shapes.
What number of do I want?
First, I had to determine about what number of columns I might have within the room. I spaced them out each 9″ and drew a line. I found out what number of squares/circles every column would have and multiplied that by the quantity of columns after which added 10% extra to ensure I had sufficient.
Determining the peak
First, I positioned the shapes on the backside of the baseboards and realized that they’d look higher in the event that they have been minimize in half at each the highest and the underside. Chair rails really feel finest when they’re about 1/3 from the underside in order that’s what we have been aiming for, however we additionally needed to keep in mind the place the shapes have been going to finish. We took into consideration the width of the chair rail too, so we stopped the sample at round 32″ after which the chair rail took up one other few inches depart it at round 34″ ish.
Trim and end portray
As soon as I made a decision on a peak, it was time to put in all of the trim and end portray. Don’t you like the sensation of an area progressing with each step? I keep in mind strolling into the toilet as soon as it was painted and respiratory a sigh of reduction. It was coming collectively!
Prepping the squares and circles for paint
You’ll paint the squares and circles earlier than making use of them to the wall. My painter, who’s the very best, took him the squares and circles, sanded them, sprayed them calmly from 4 completely different angles with an airless gun (you may lease them for affordable!) two completely different occasions. He positioned them on plywood to spray them. He mentioned it’s all concerning the prep! We had 280 items complete so it was a little bit of a course of.
Making use of the squares and circles to the wall
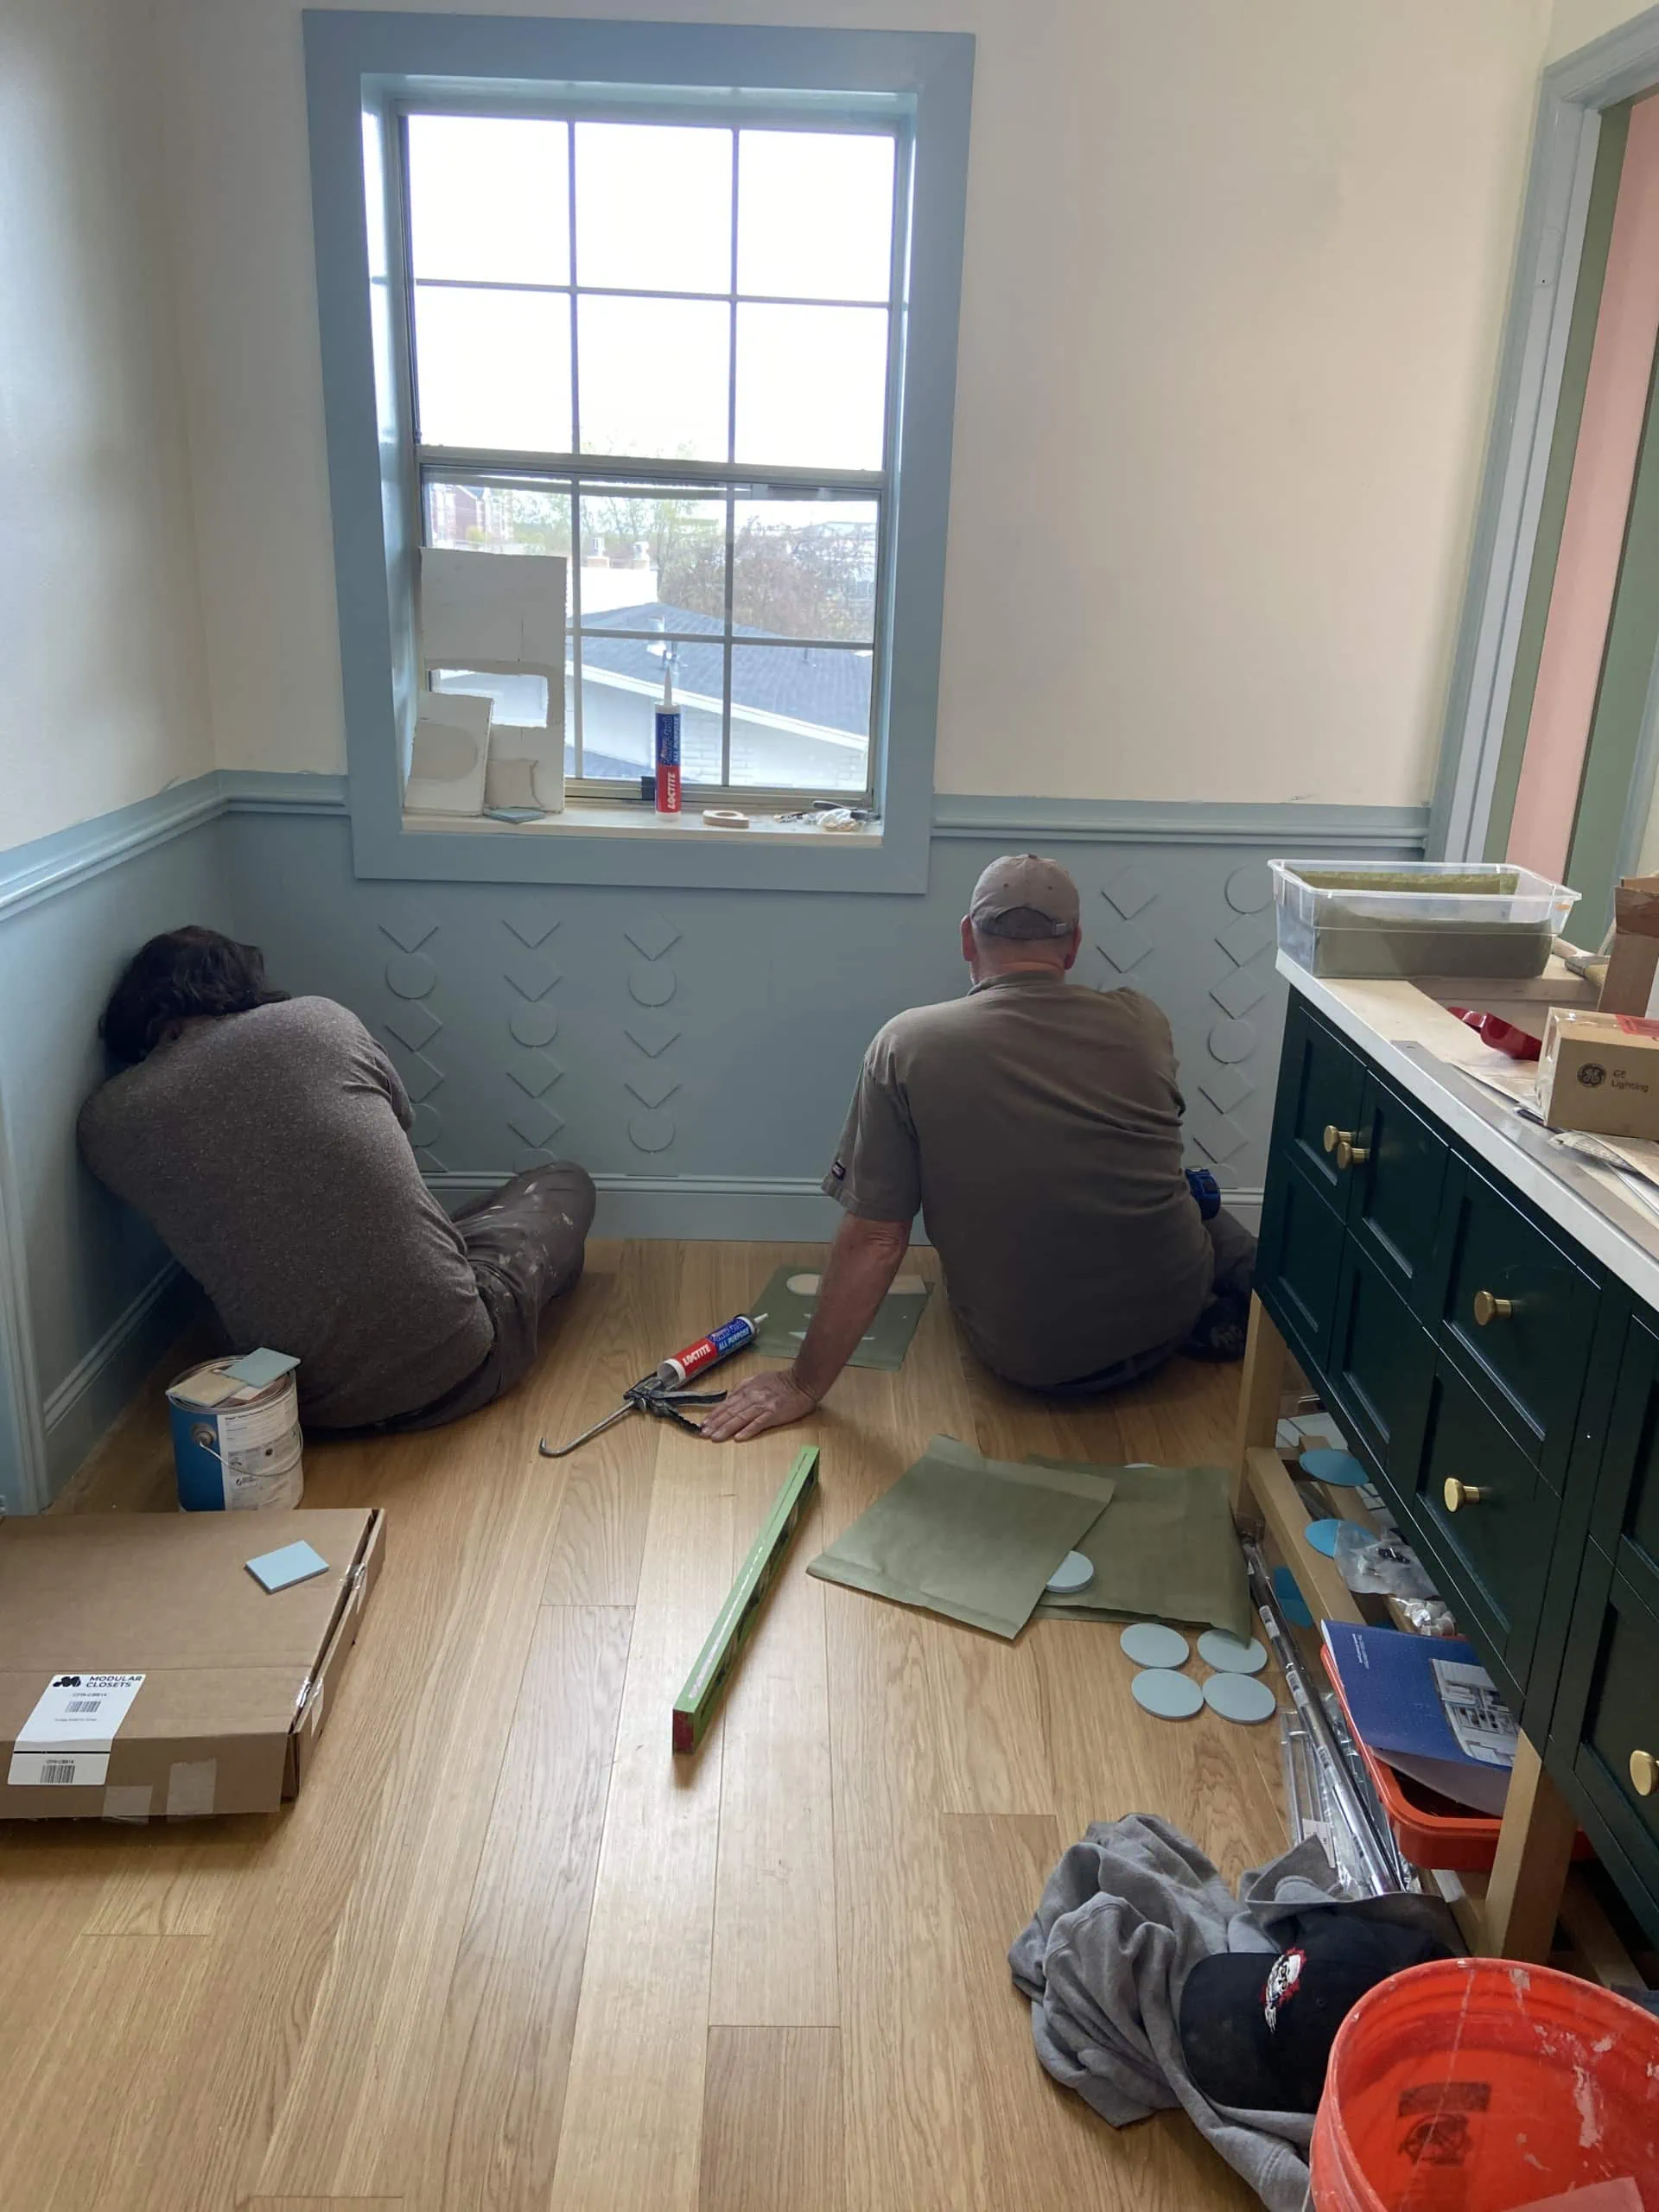
After portray and verifying my design, it was time to start out the set up. We had an important crew putting in molding and trim to the precisely right peak. Then got here the enjoyable half: gluing up the picket cutouts!
Tips on how to do a DIY geometric 3D wainscoting
Supplies:
-
- Normal development adhesive (He used Liquid Nails)
- pencil
- ruler/measuring tape
- circles and squares (I obtained mine customized sized from this Etsy seller)
Directions:
- Draw a straight line on the wall of the place you’ll be putting in the squares/circles. Be sure that it’s stage and completely straight.
- Use customary development adhesive (he used Liquid Nails) like 3-4 dabs per sq./circle. You don’t want an excessive amount of of it. The squares are straightforward to affix as a result of we positioned them on every factors like a diamond so we may align them completely. The circles have been eyeballed.
- He used a noticed to chop off the bottoms previous to portray in order that the ends have been properly completed.


As a result of I knew that I’d be putting in wallpaper after we completed the DIY wainscoting, I didn’t fear about any paint that reached above the waist-level wainscoting. All of it obtained lined up as soon as we wallpapered!
Why Customized Design
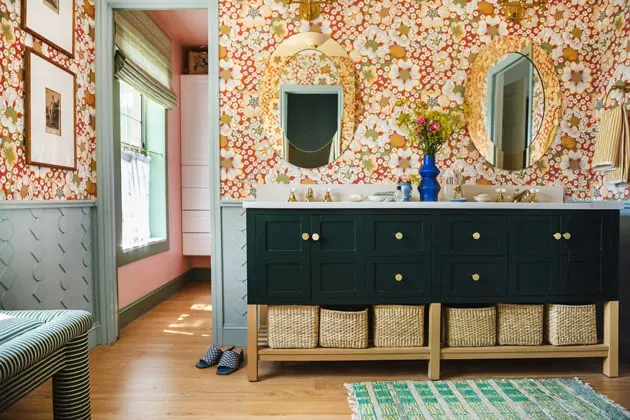
I do know that a few of you might be questioning why I insisted on putting in my very own customized wainscoting design as an alternative of utilizing a pre-made one. It actually would have been simpler! However I like residing in an area that I designed myself. There’s simply one thing about seeing one thing develop from the very starting and tweaking it alongside the way in which in order that it’s good. Having Meta’s assist was additionally very encouraging, as a result of she has such a expertise for making an area actually displays its occupant. I knew that along with her assist, we may make my customized DIY wainscoting goals a actuality.

Extra Toilet Rework Inspo
Transforming the toilet took quite a lot of time and turned out to be quite a lot of steps. You may learn extra about everything that came together for our remodel here, so even in case you aren’t prepared to put in DIY wainscoting there’s a number of rest room inspo for you on the weblog!


